How to HDR (Using Phone Camera PNGs)
A while ago, someone I know took a set of three bracketed photographs on their phone with the intention of creating an HDR composite. Unfortunately, they were unable to find any free tools online to help them with this, so they enlisted my help. I have taken 6.815: Computation Photography at MIT, so I had the basic knowledge -- and source code from assignments -- to make the HDR. I would provide source code for this, except that:
- I pretty much copied the solutions to my psets in 6.815 and changed a few things around to make it work better, so I don't think I'd be allowed to share it publicly.
- Much of what I did was kind of hacky, meaning that I did some steps sort of by hand rather than relying fully on code I wrote, and decisions that I made were specific to the given images.
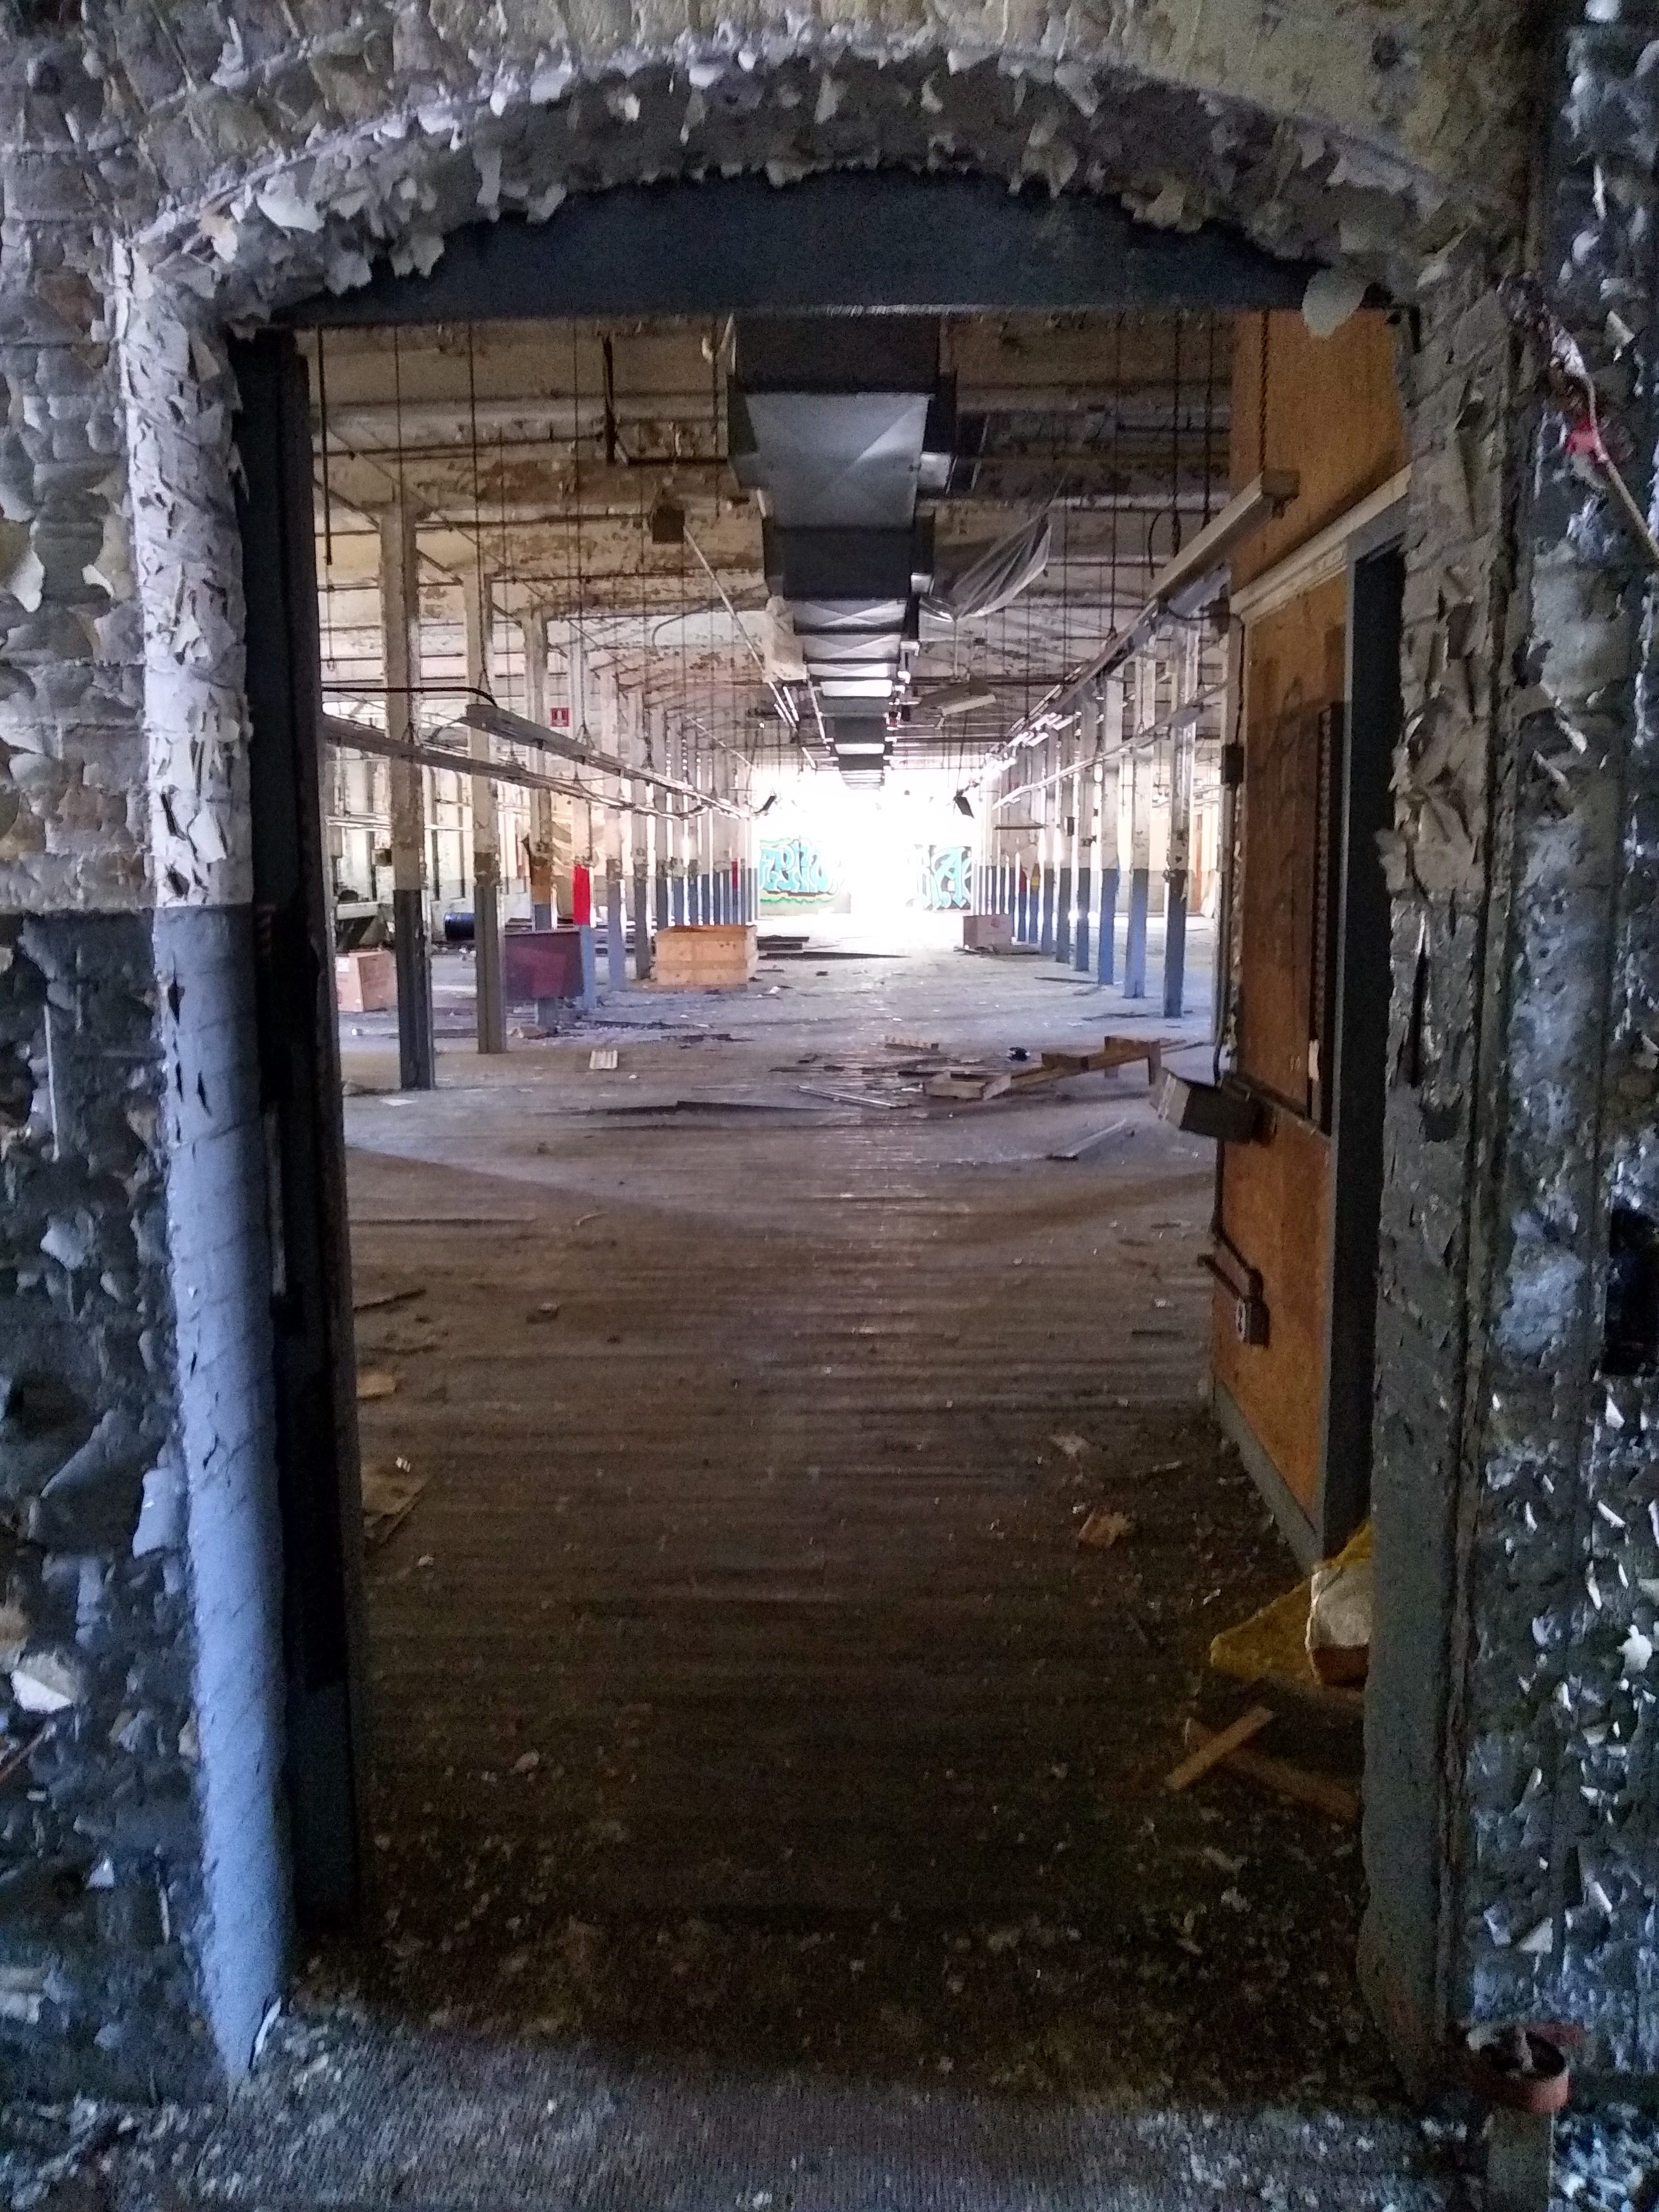
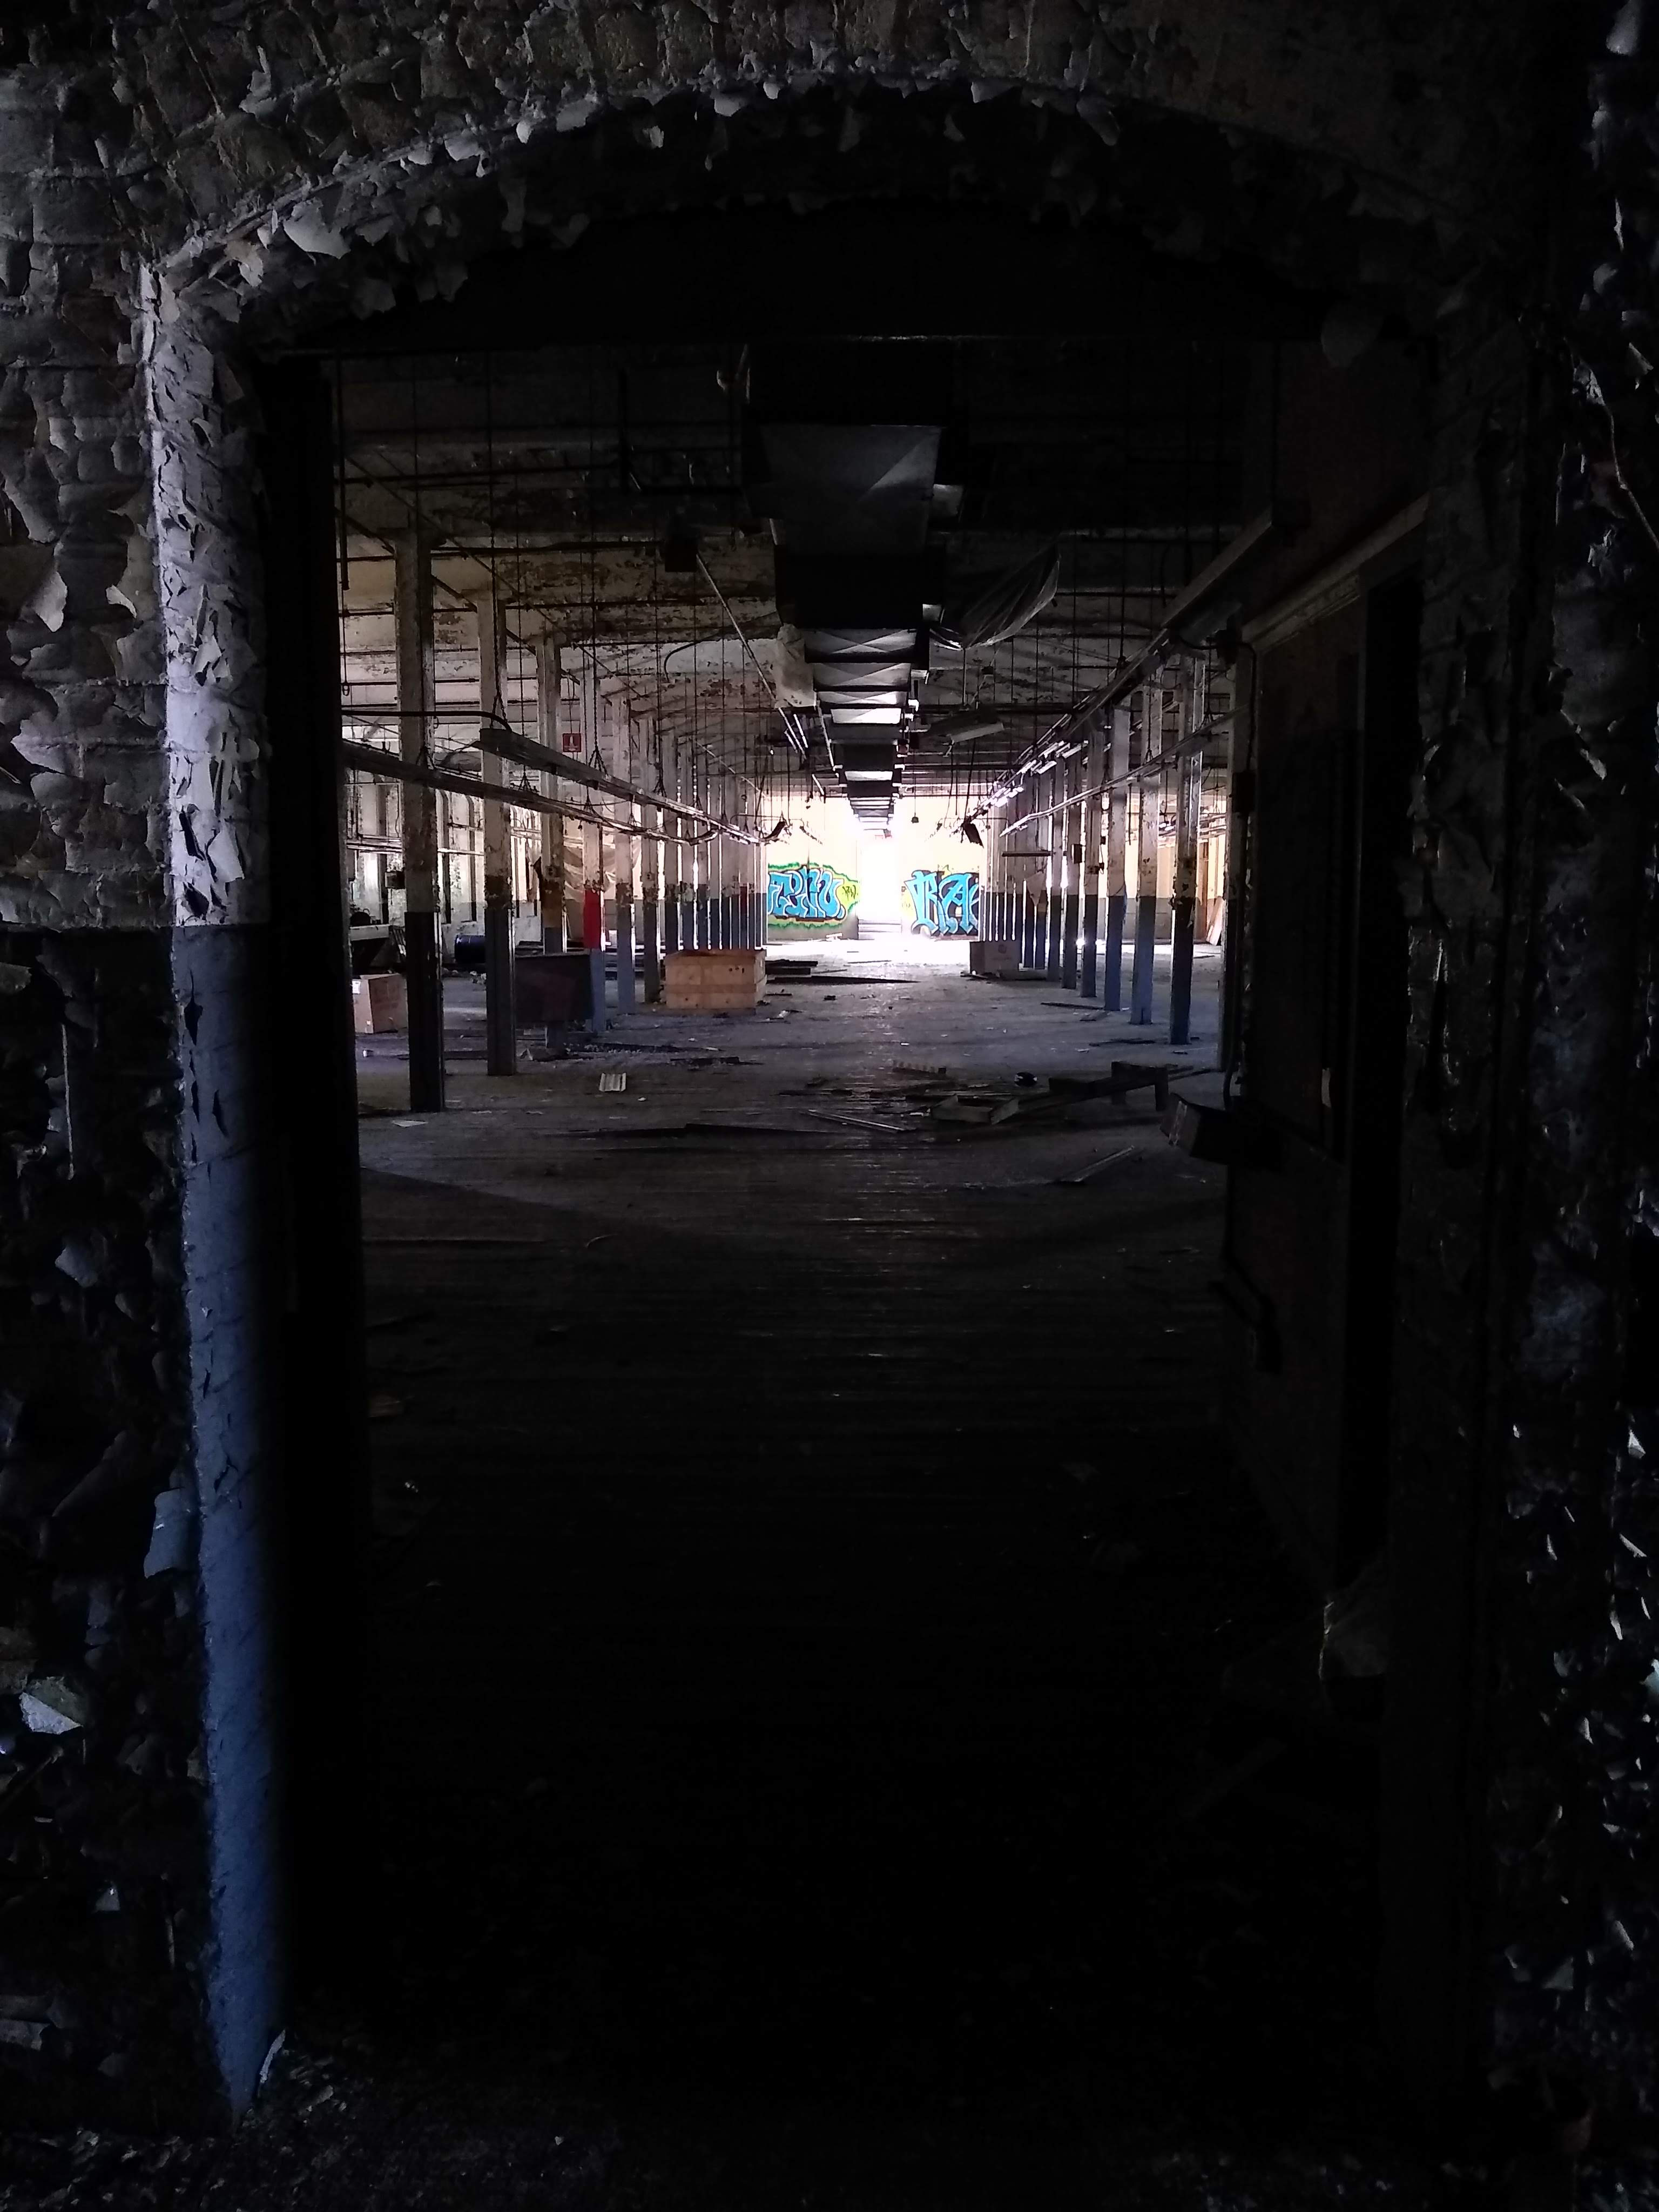
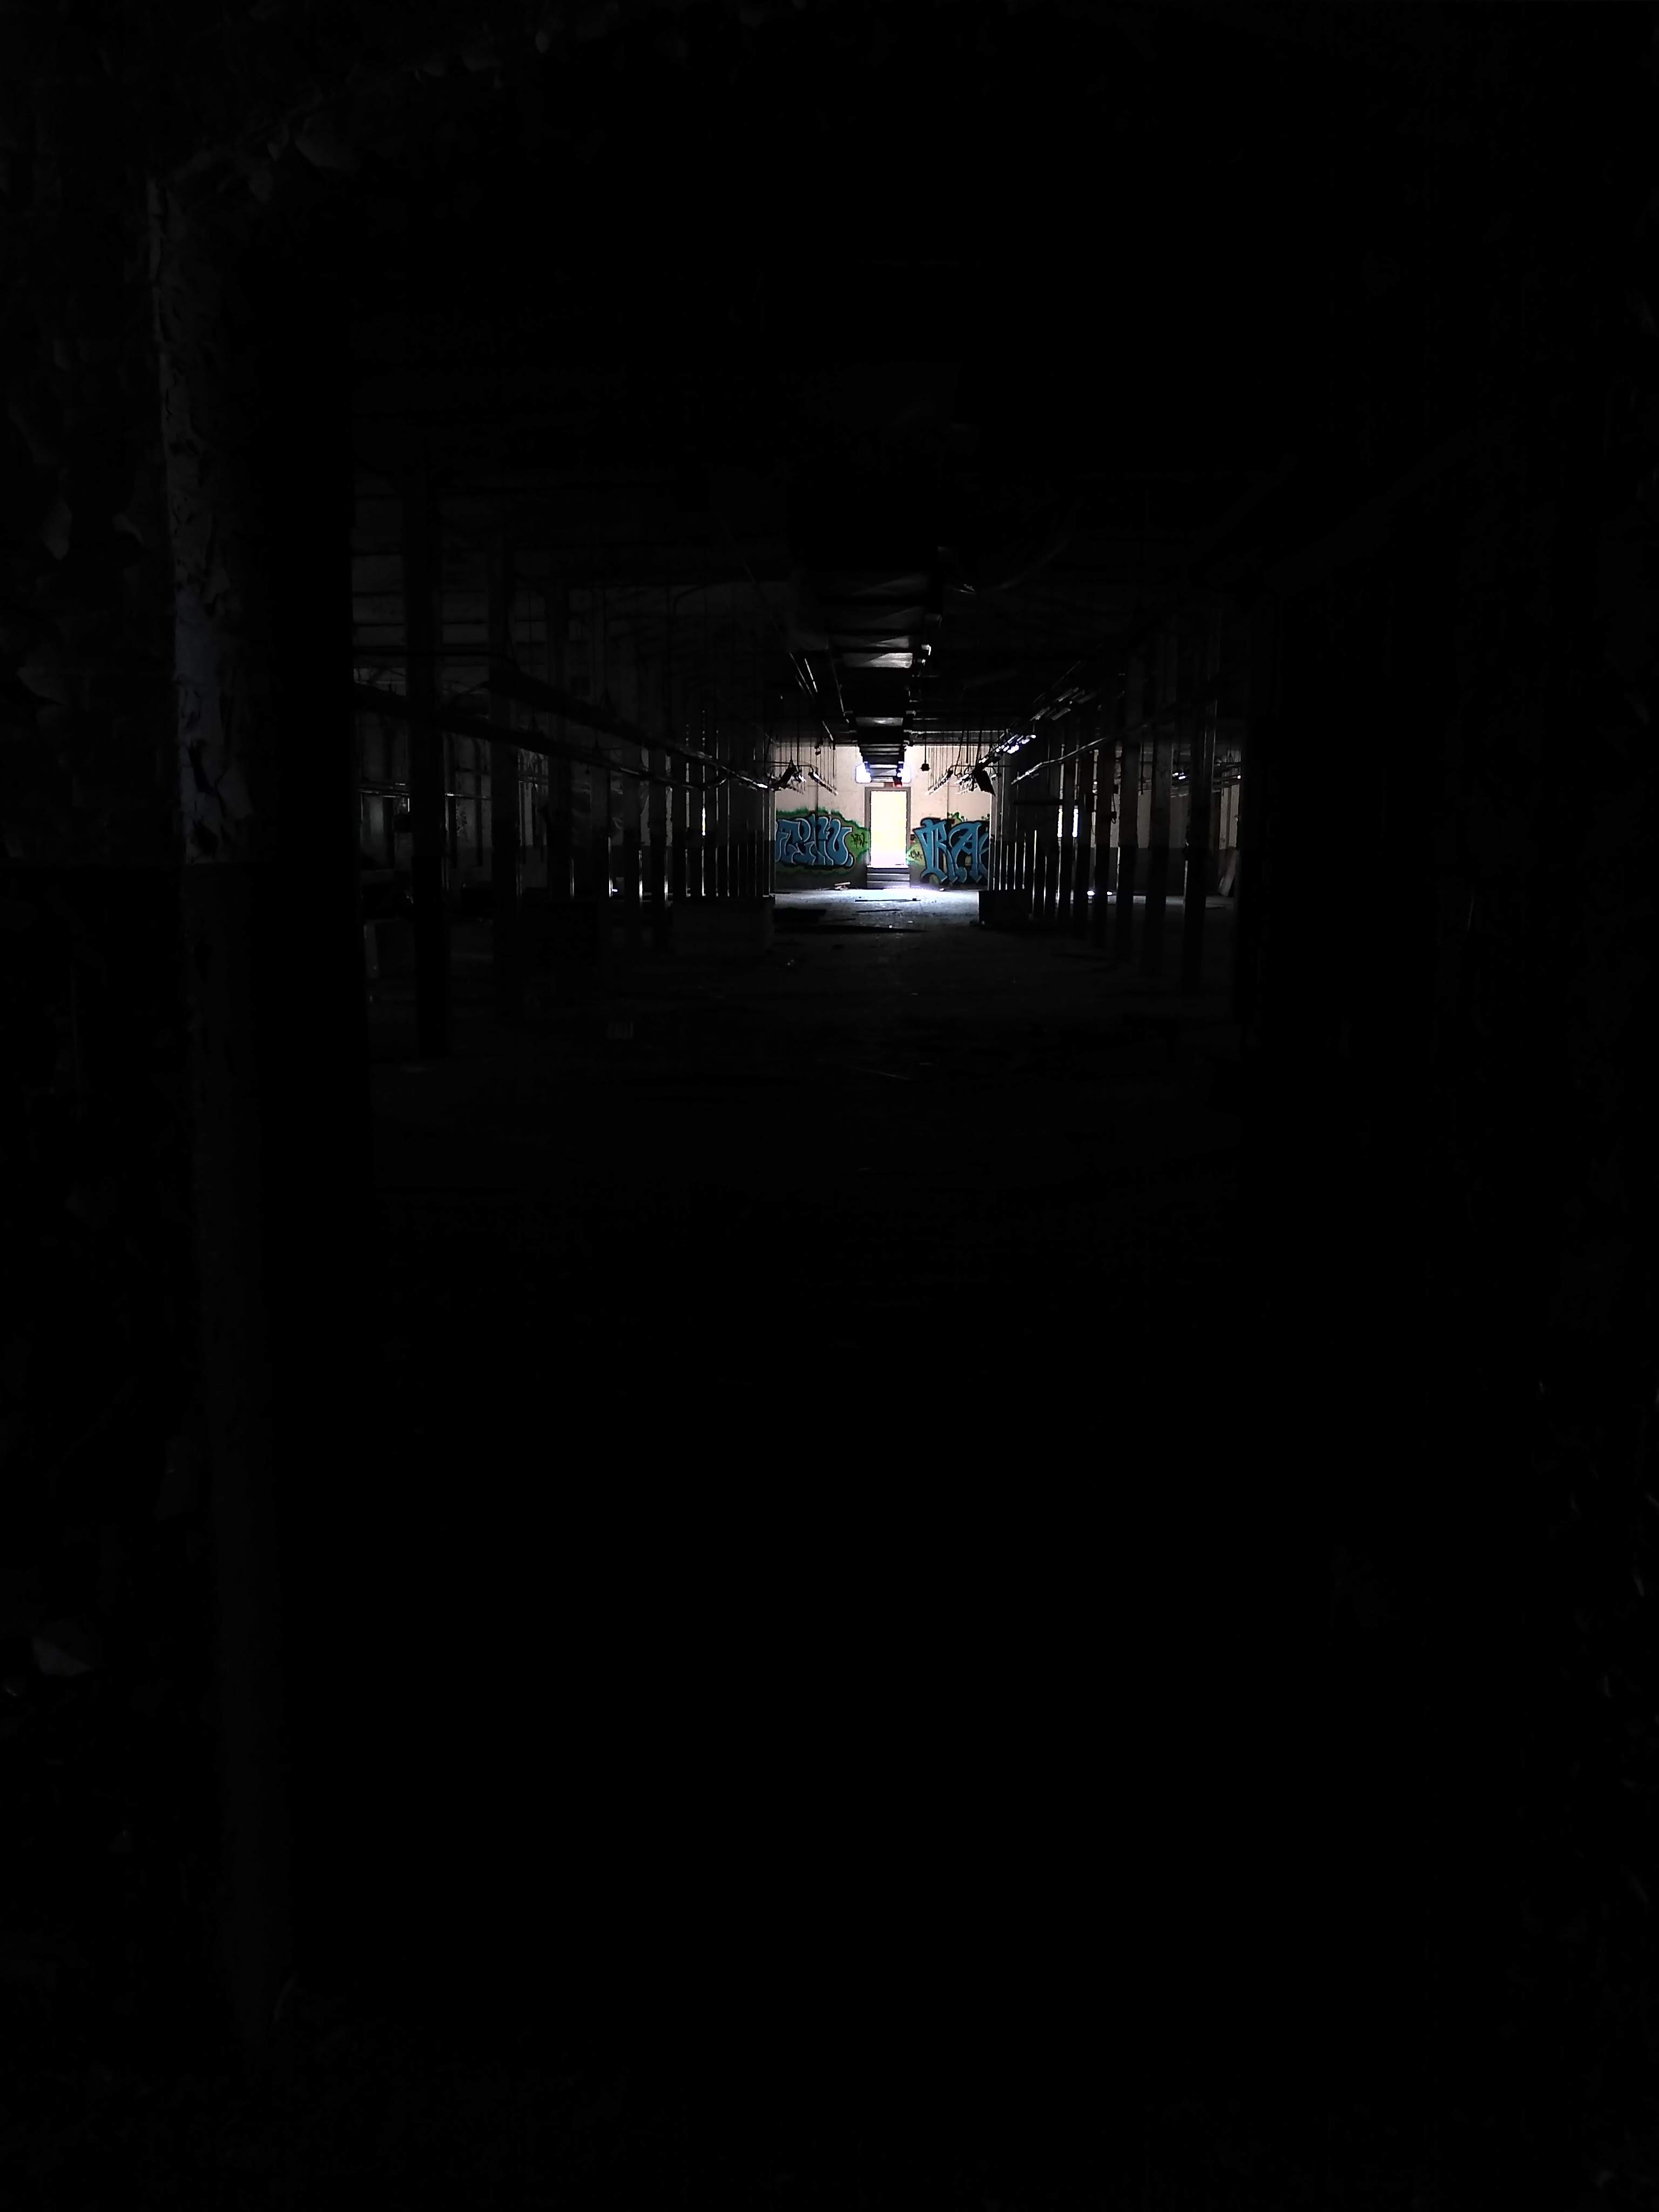
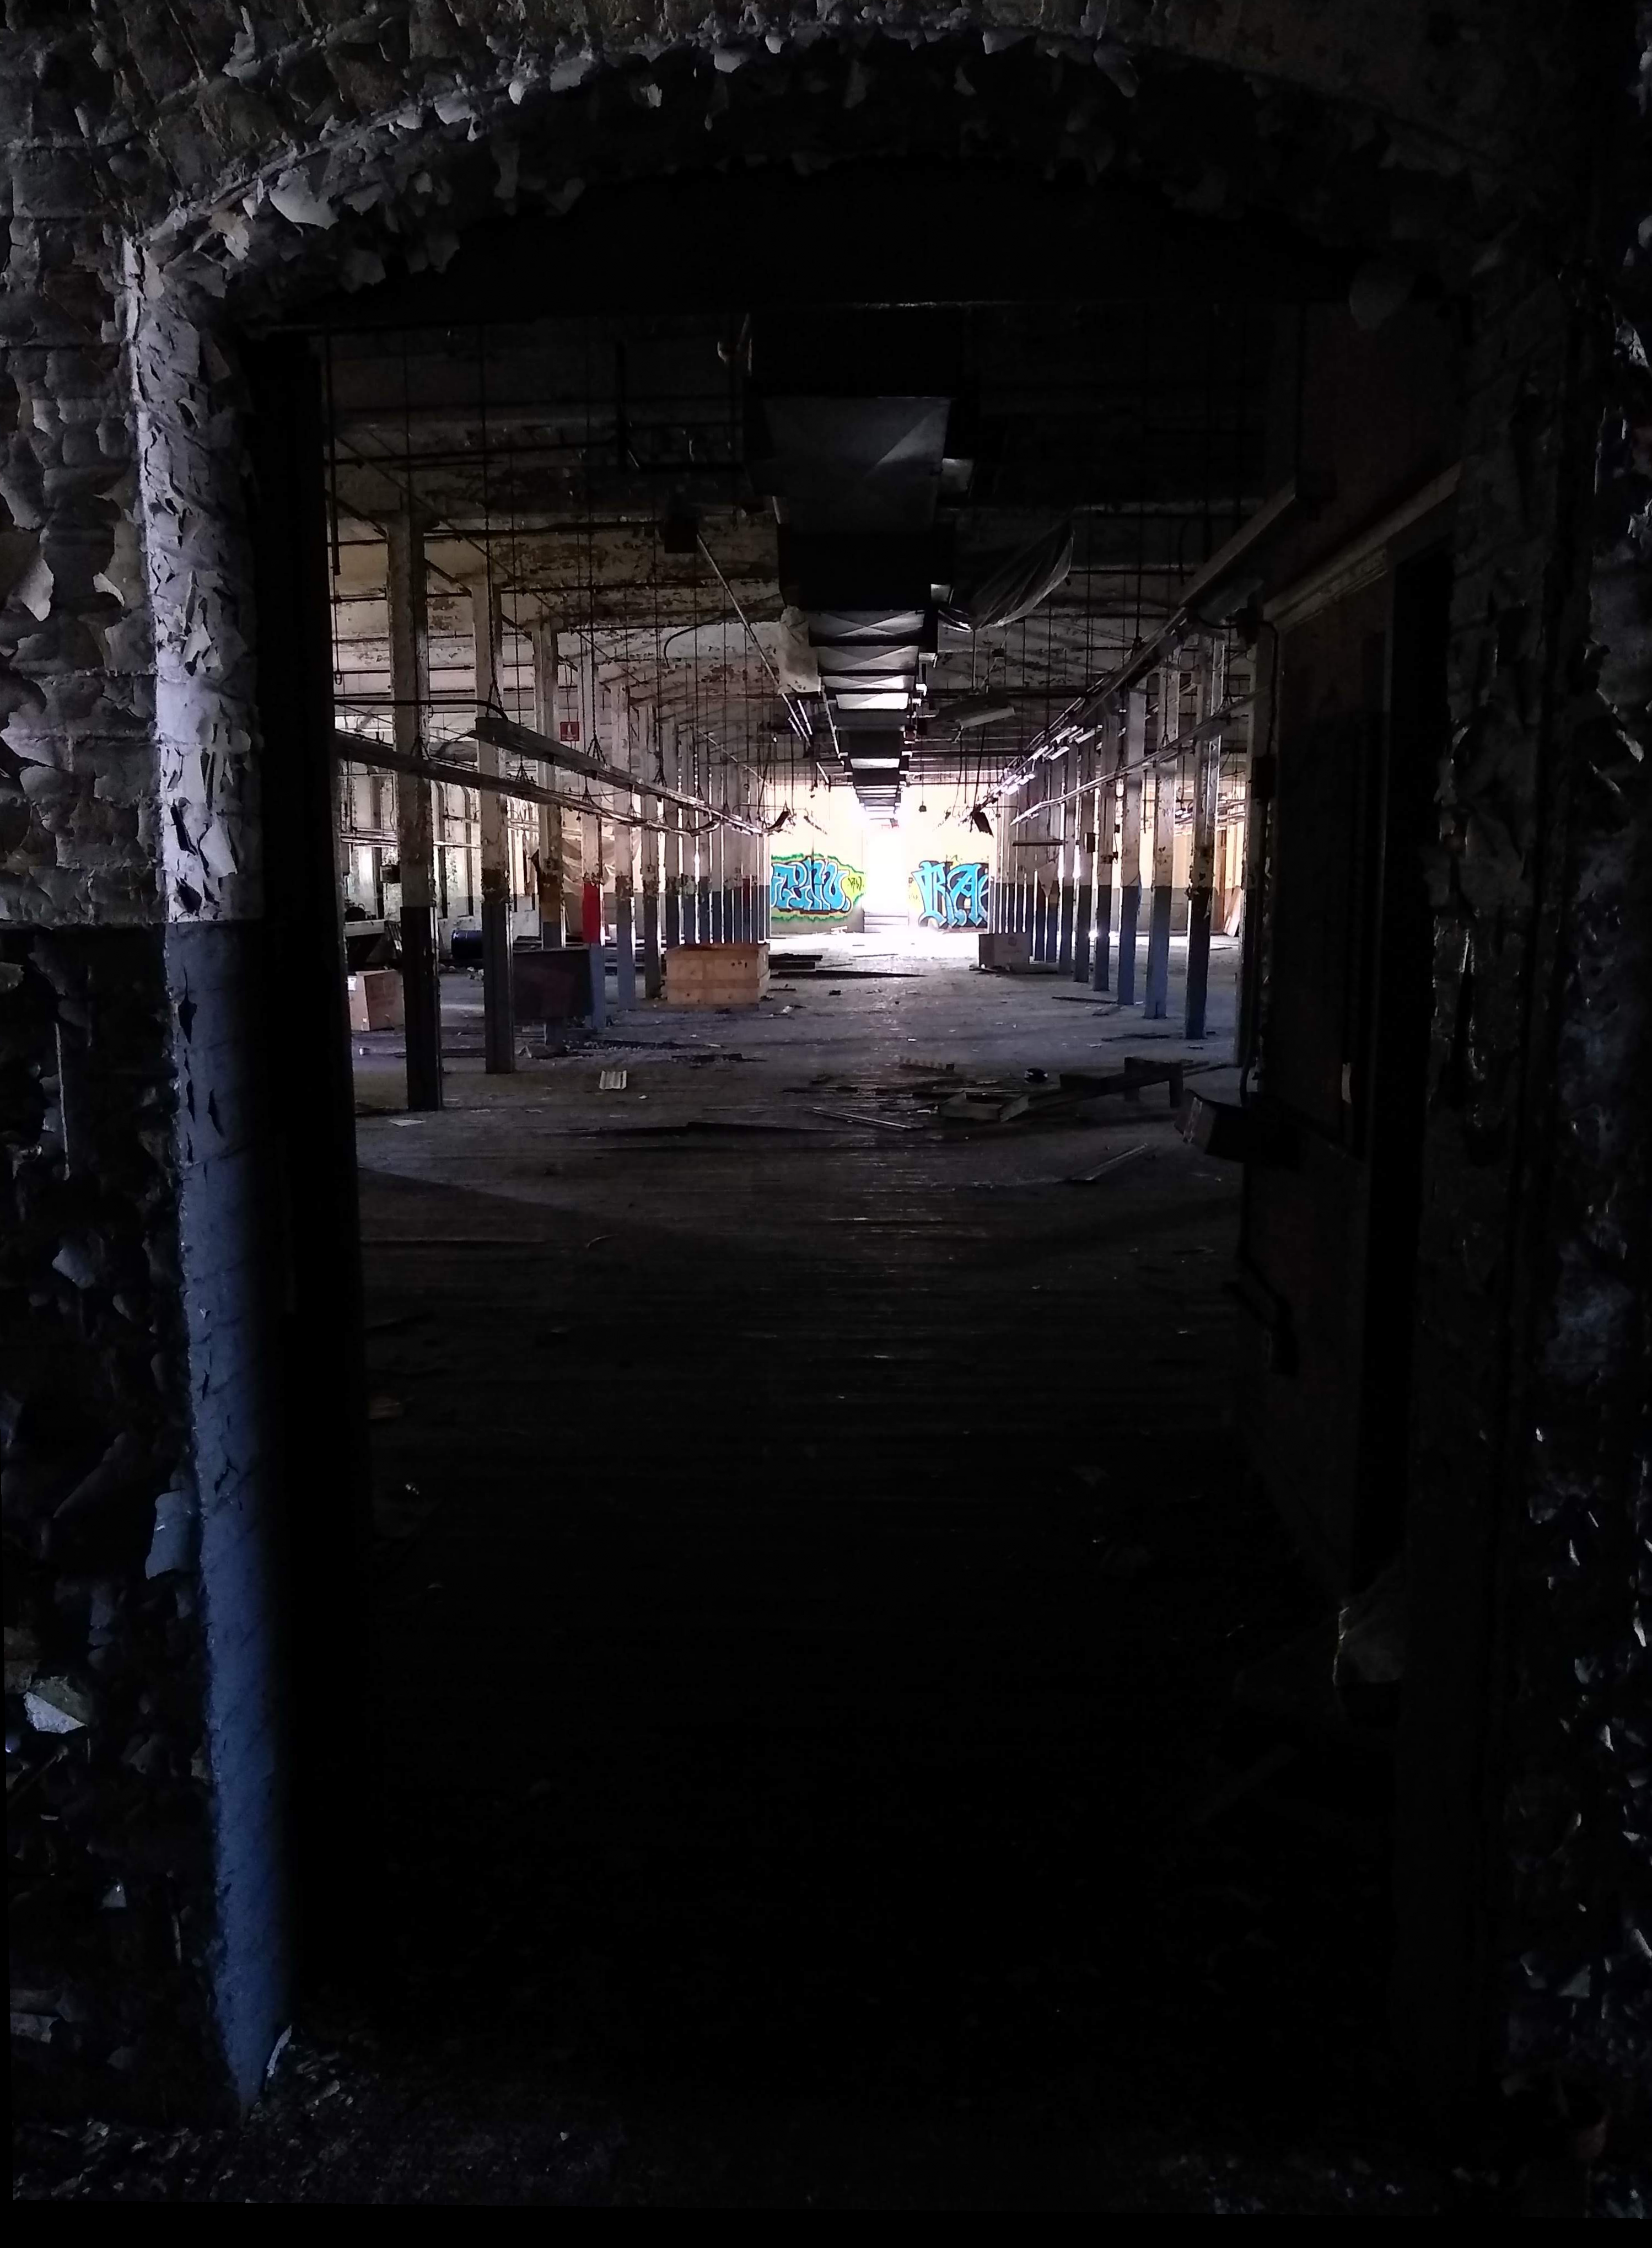
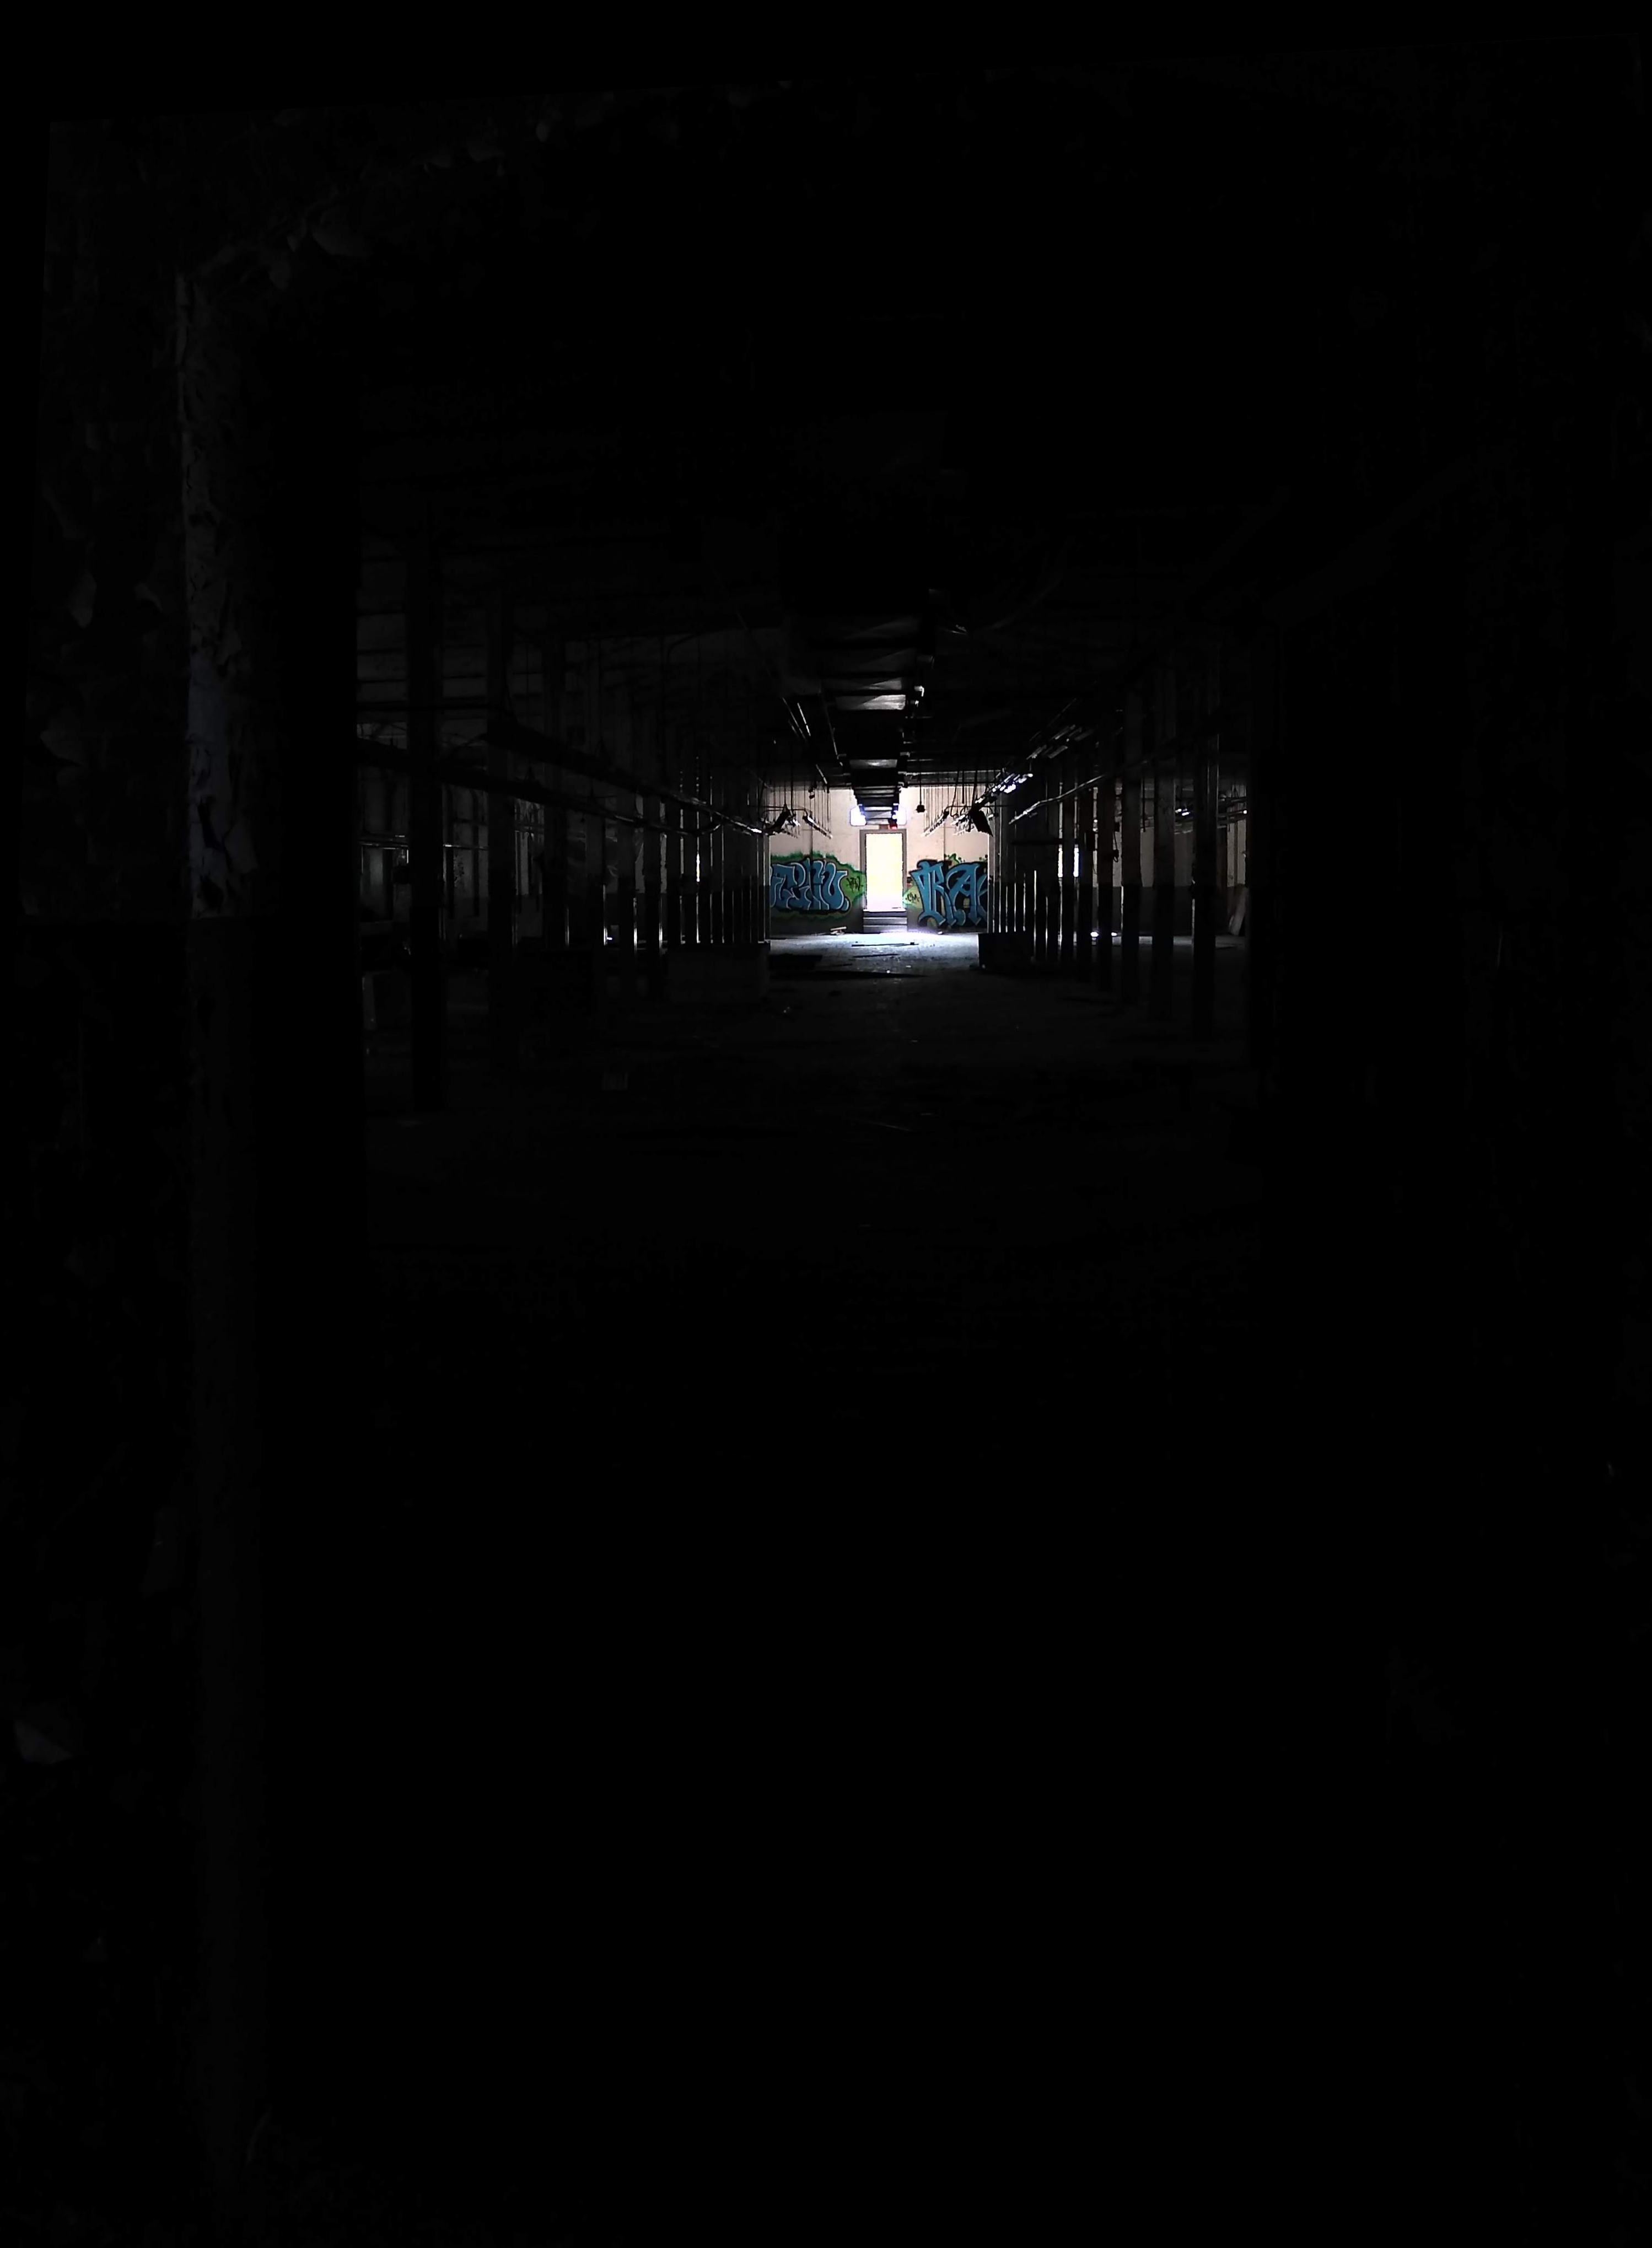
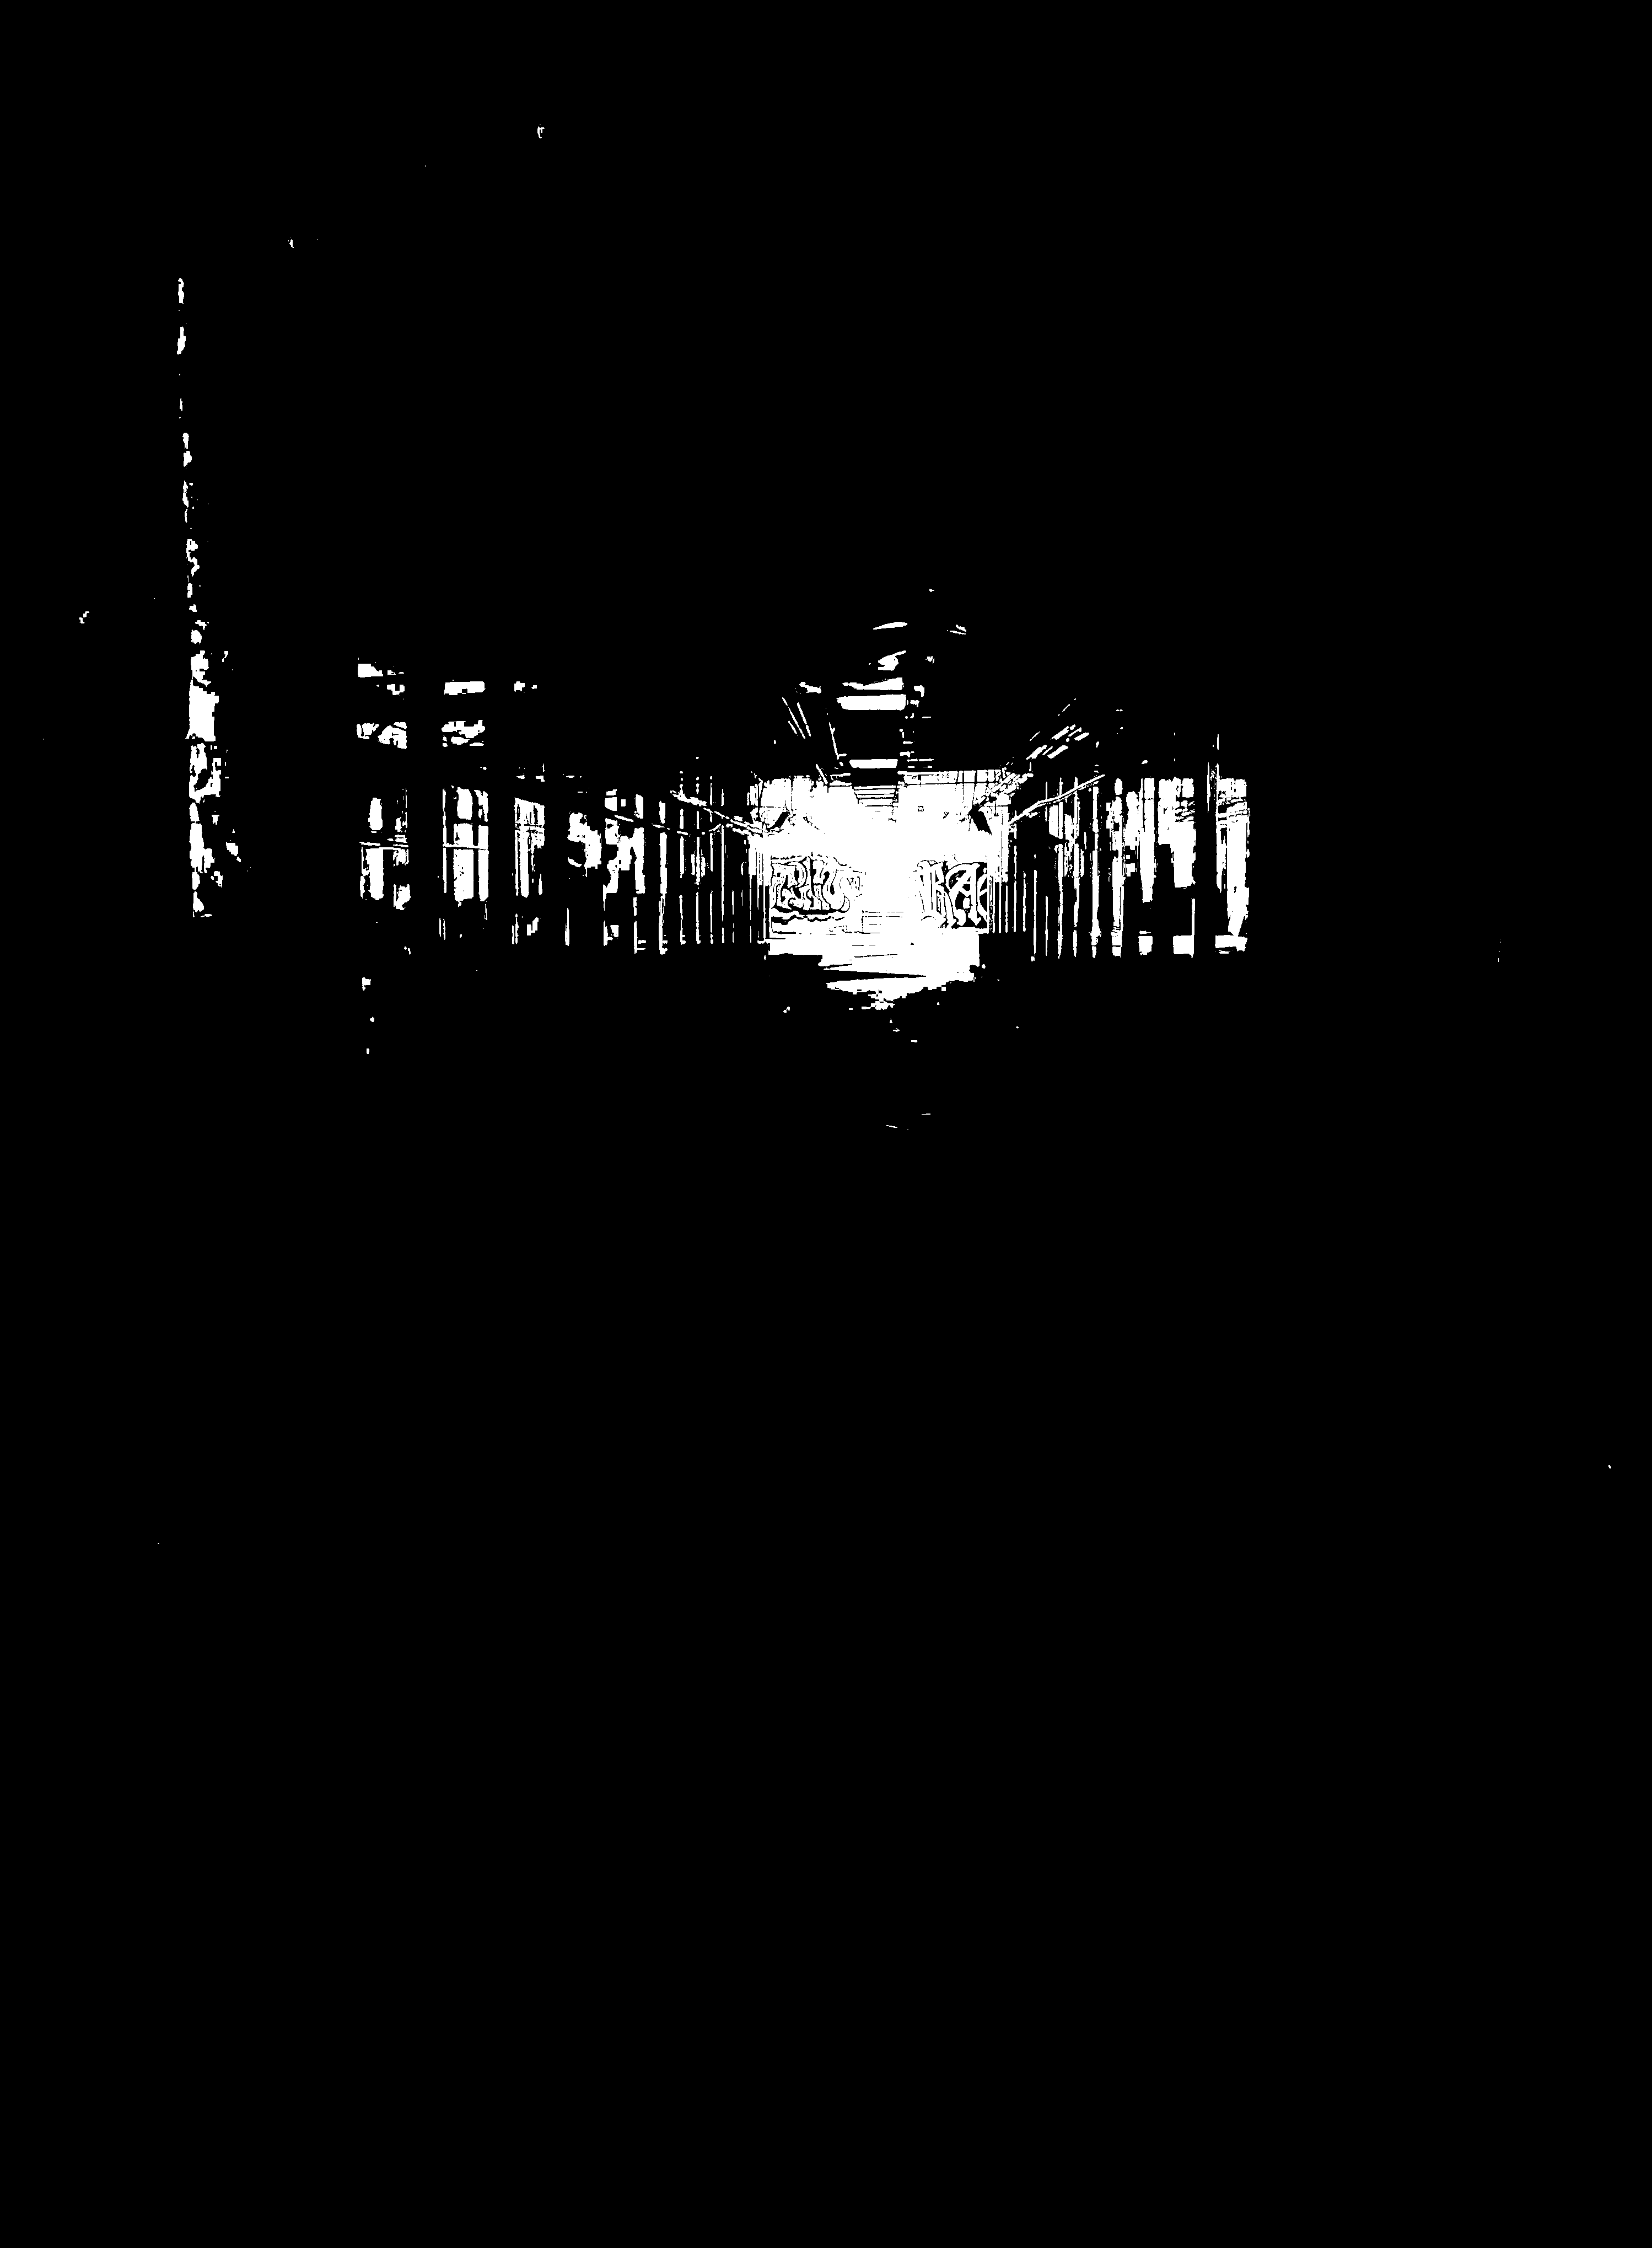
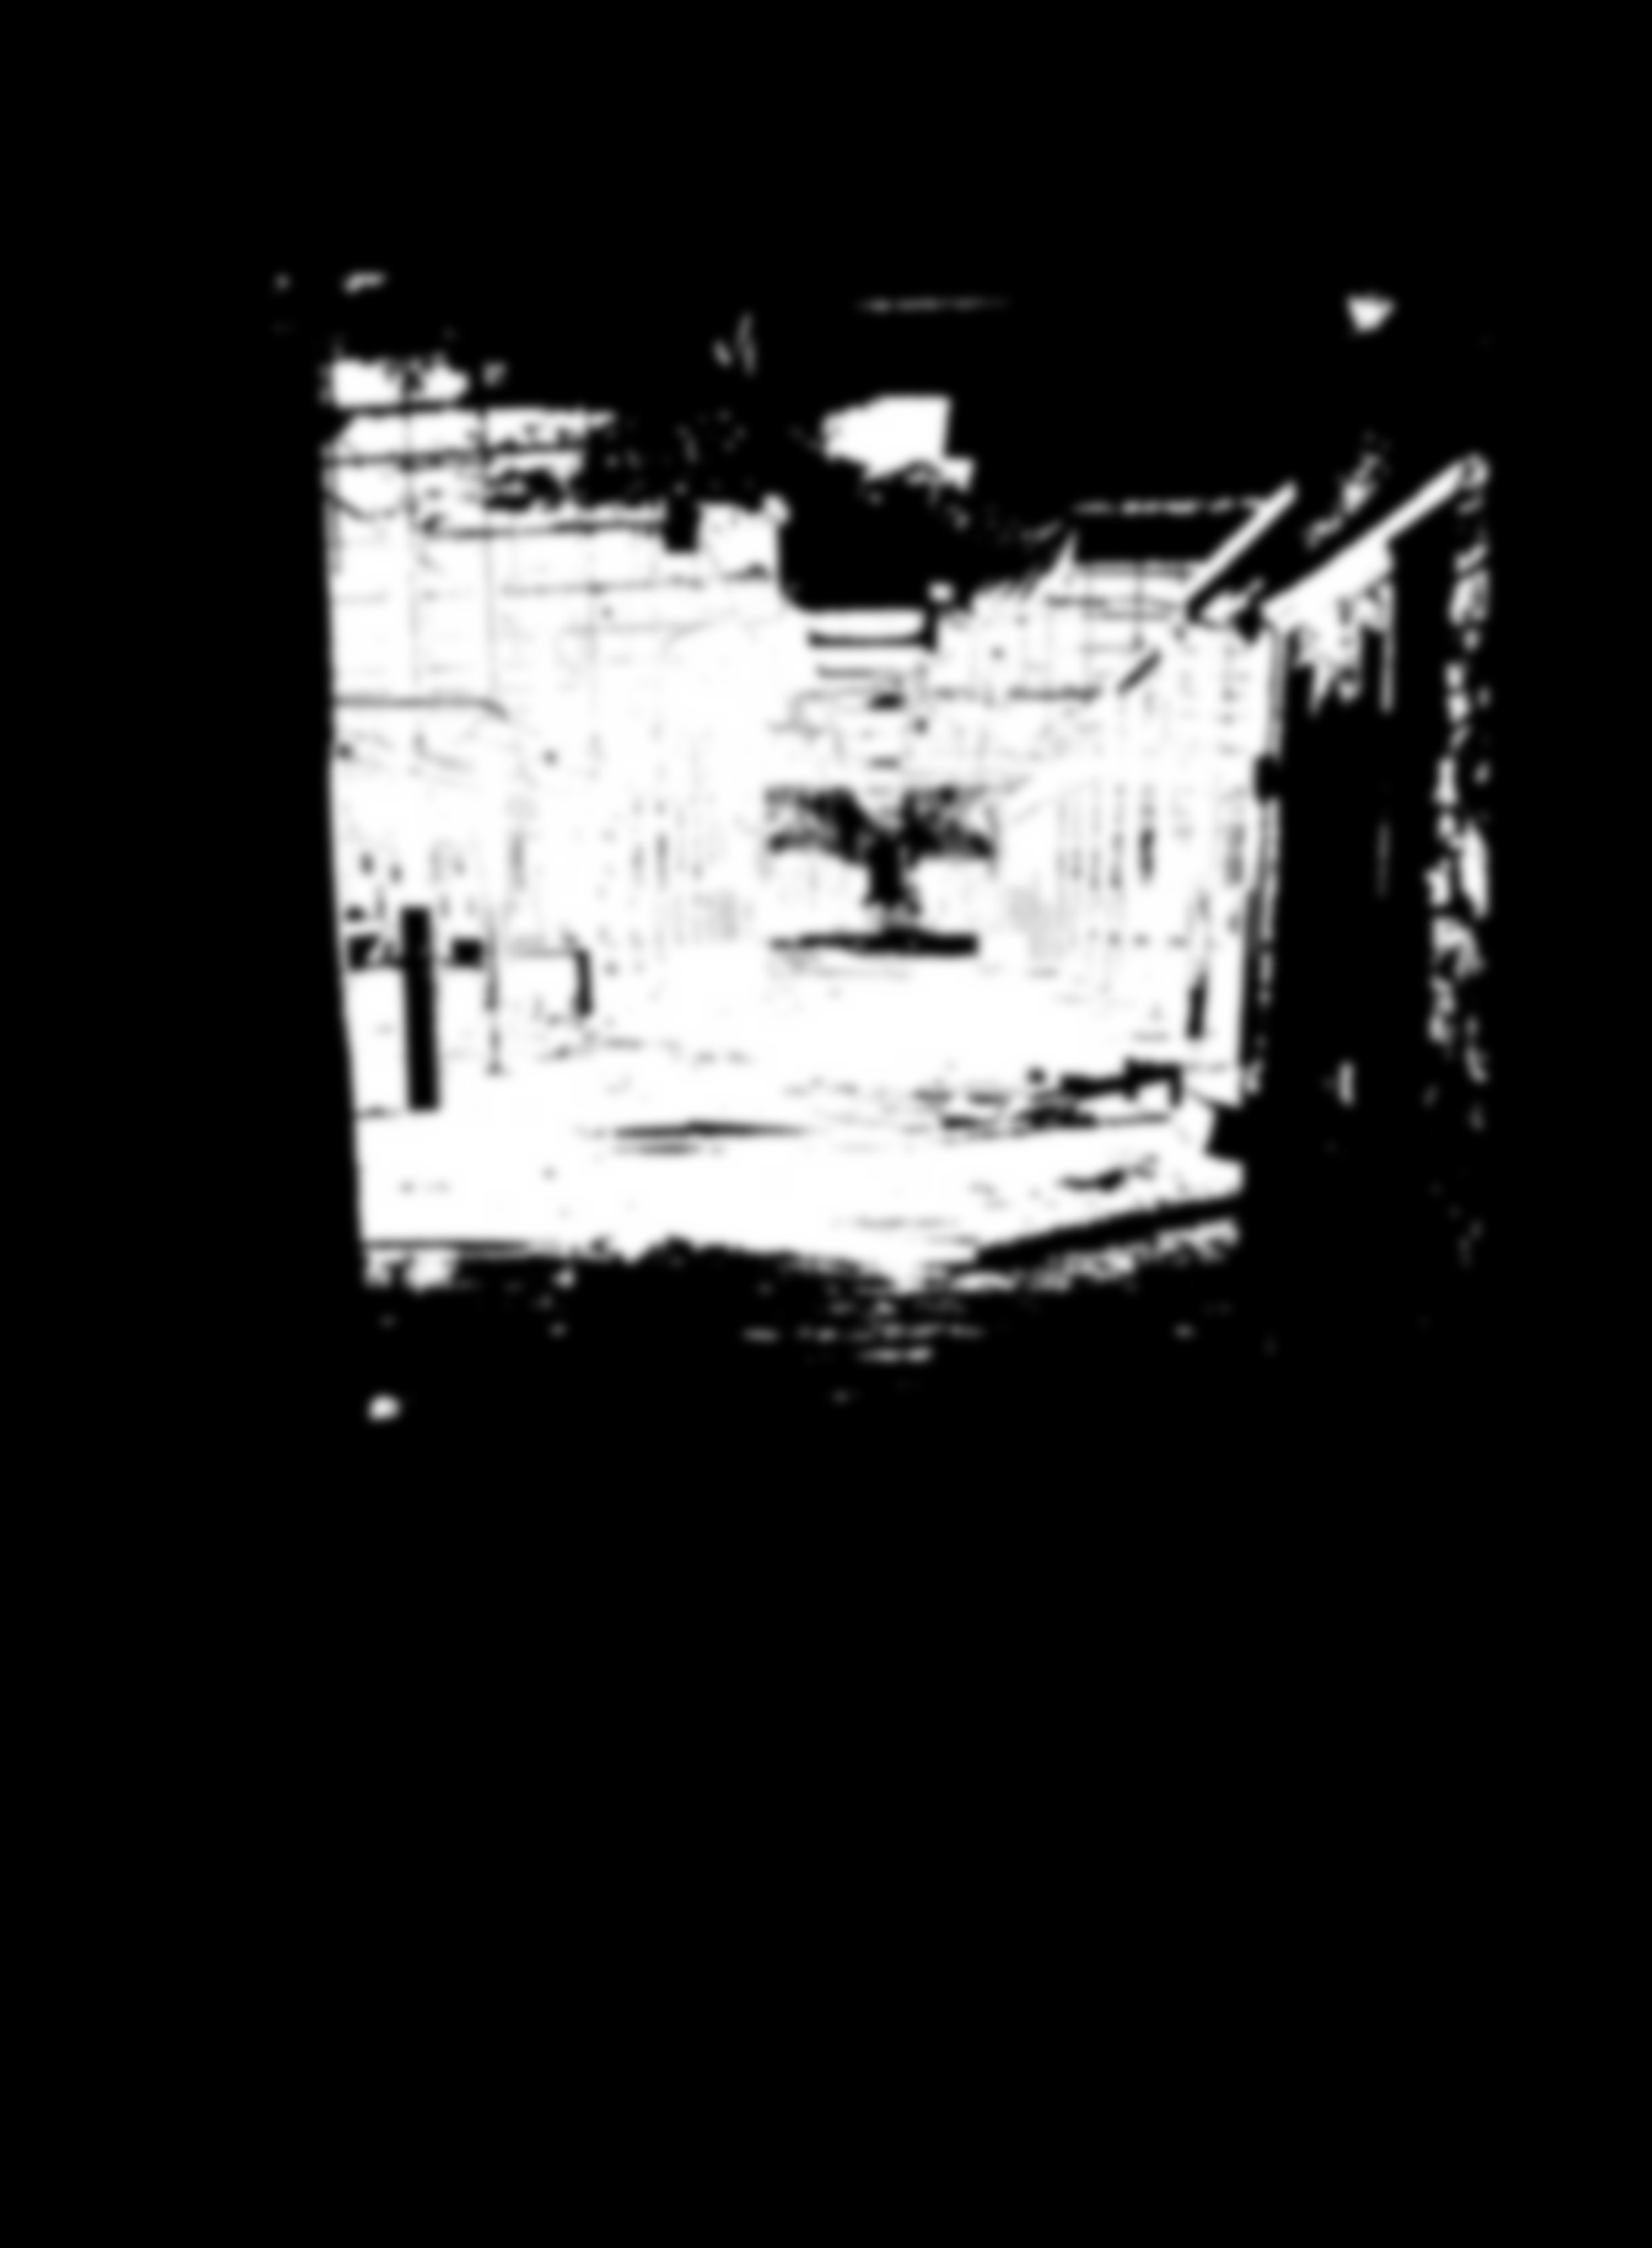
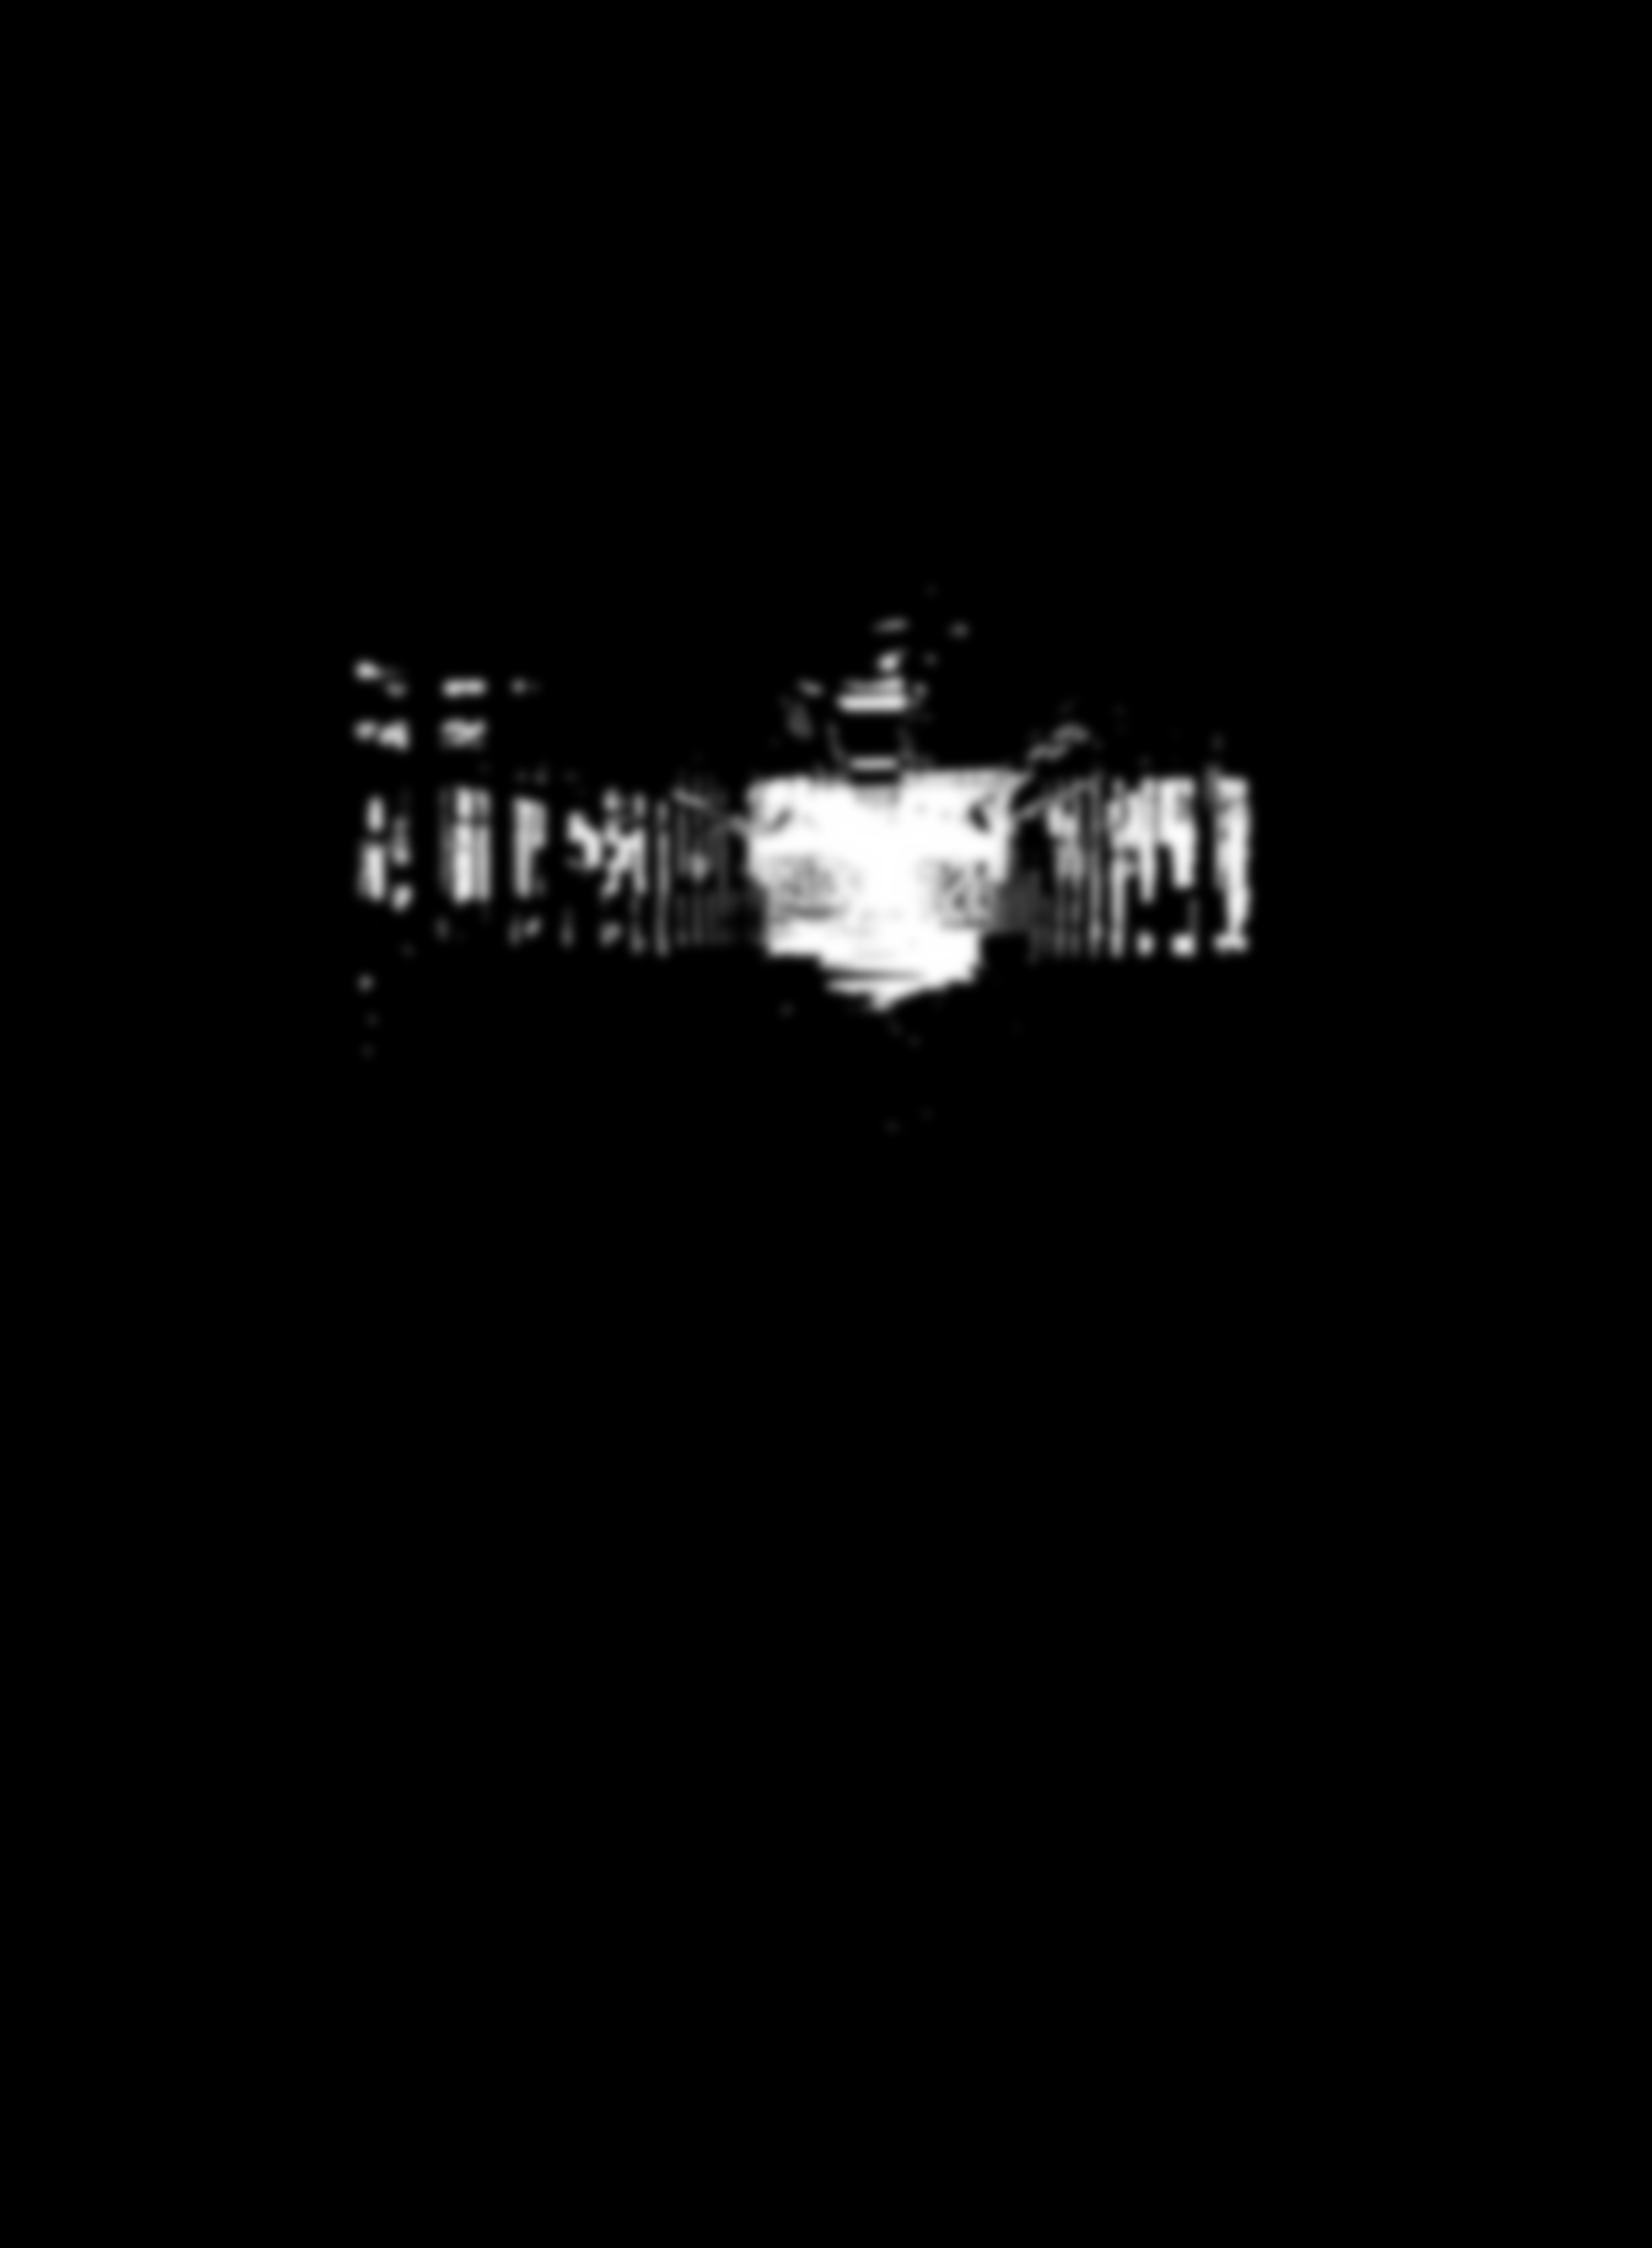
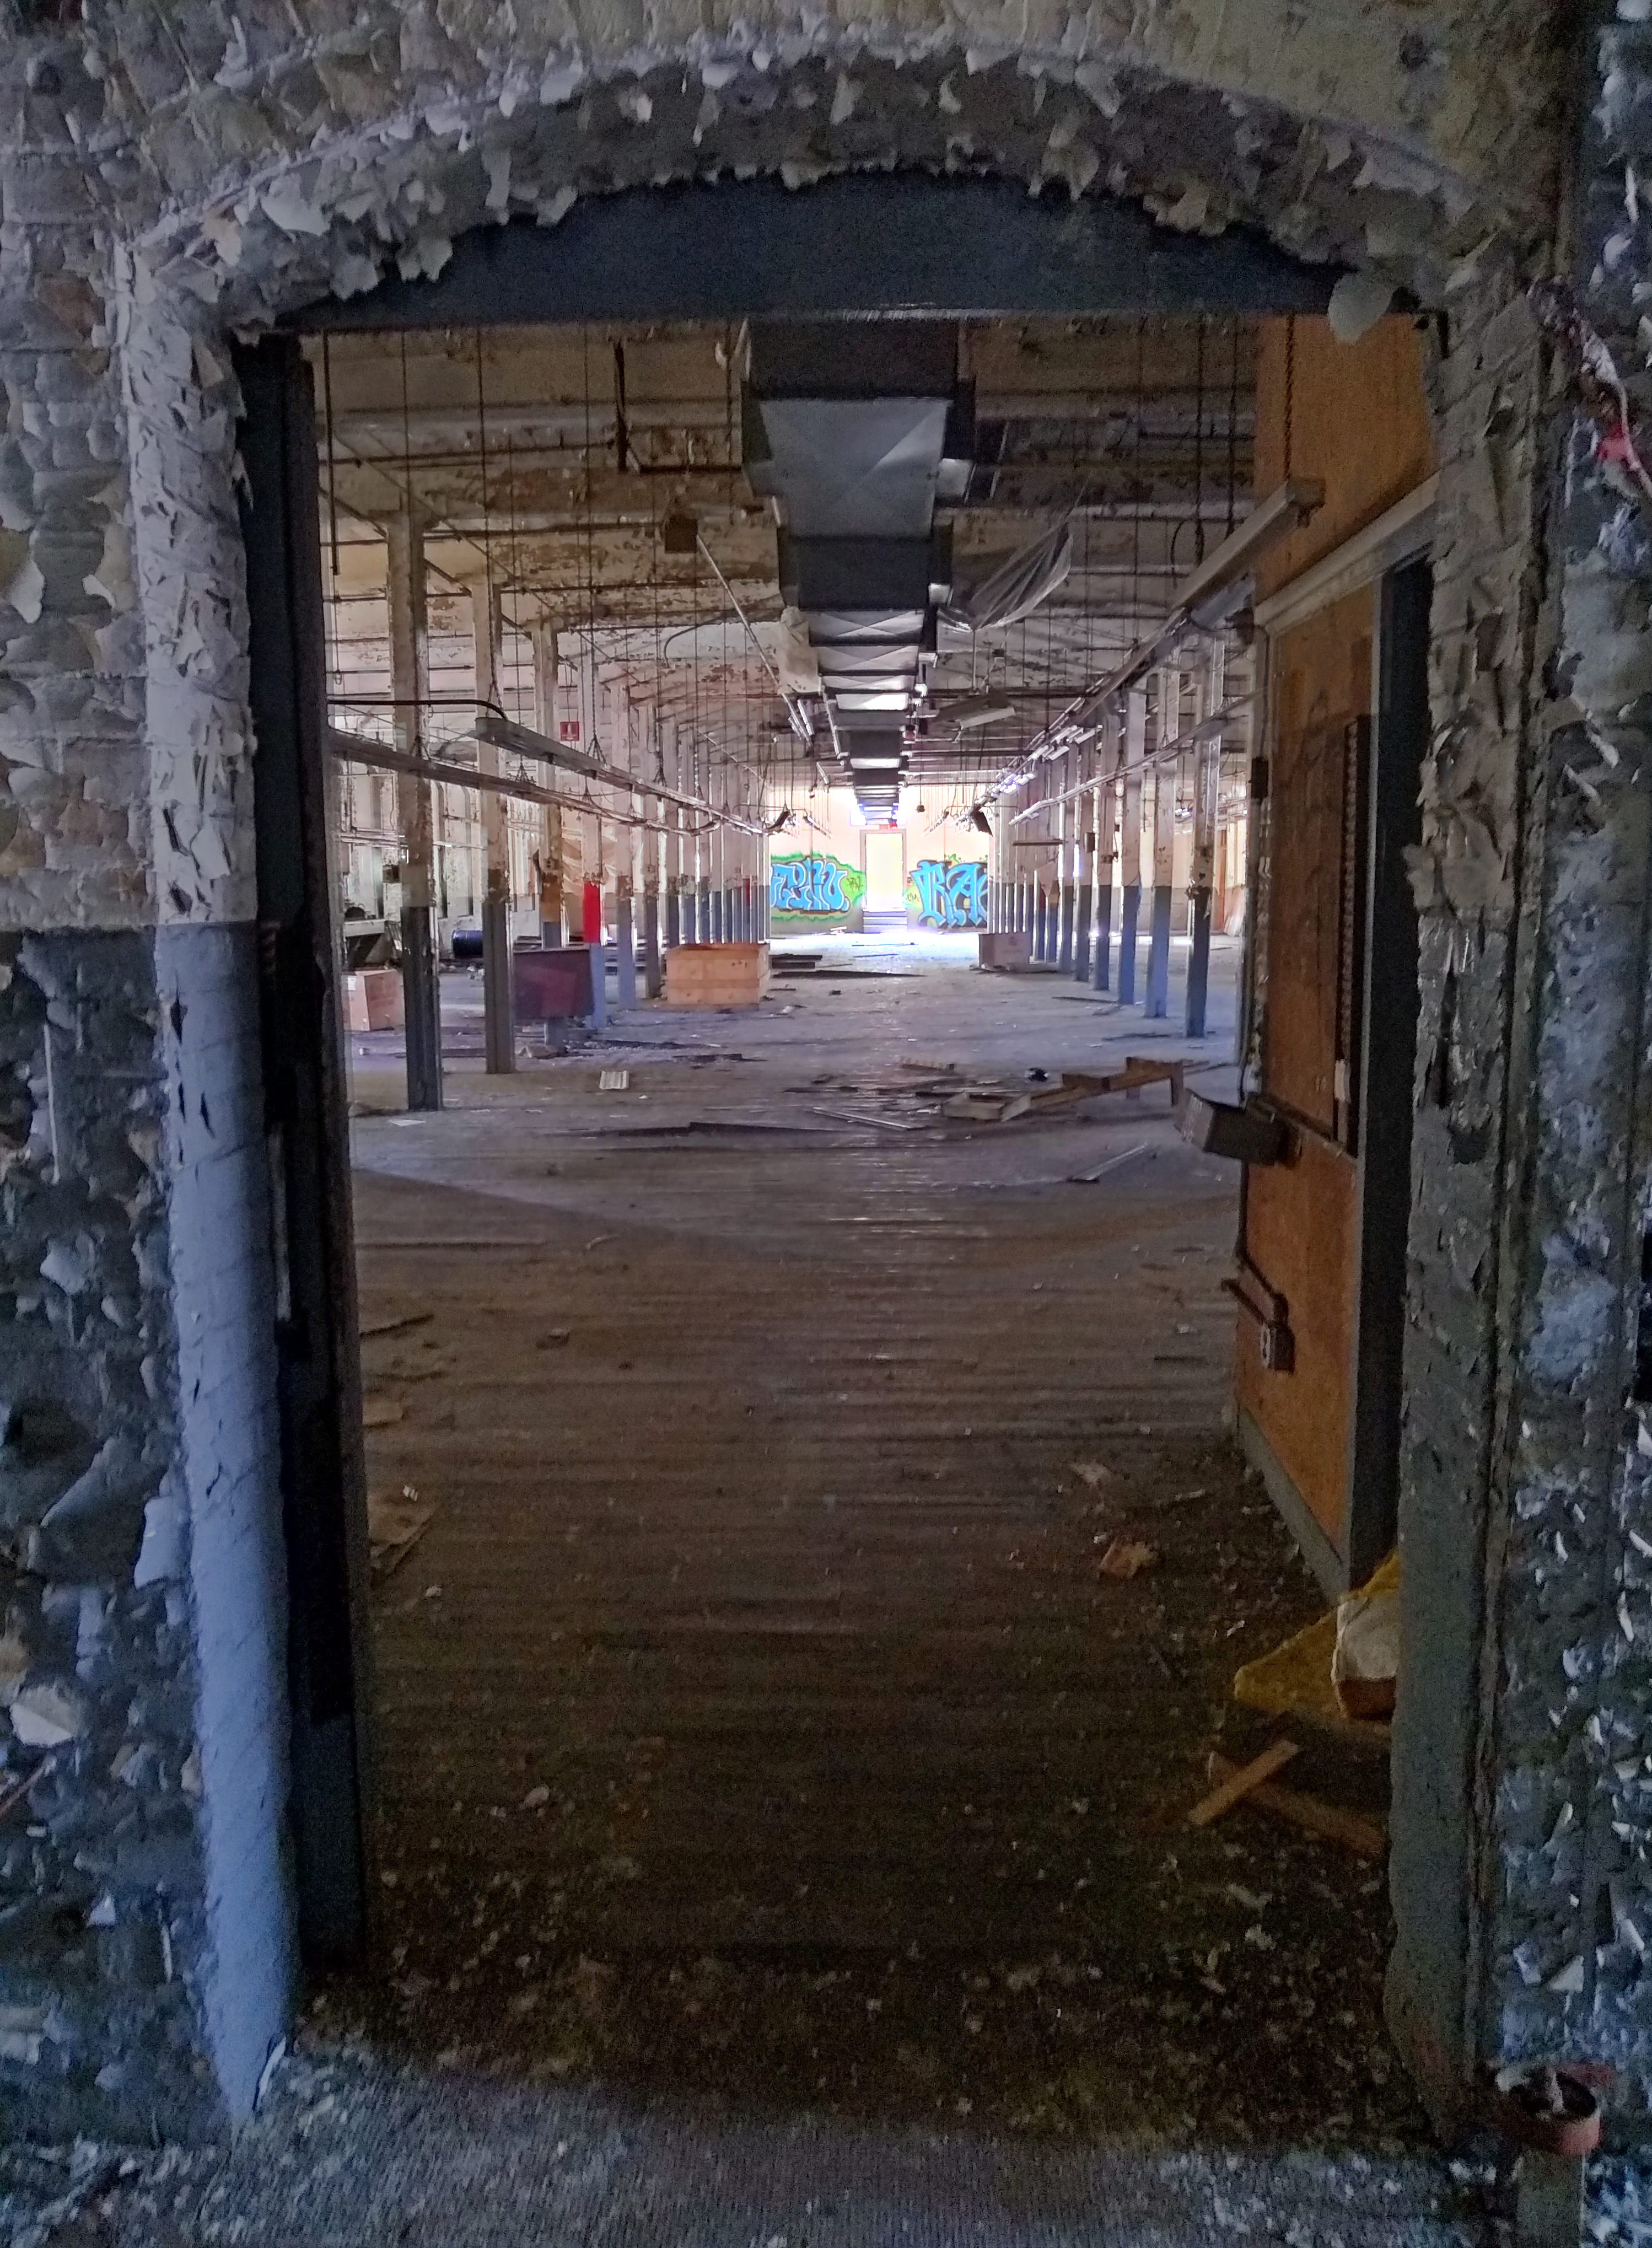
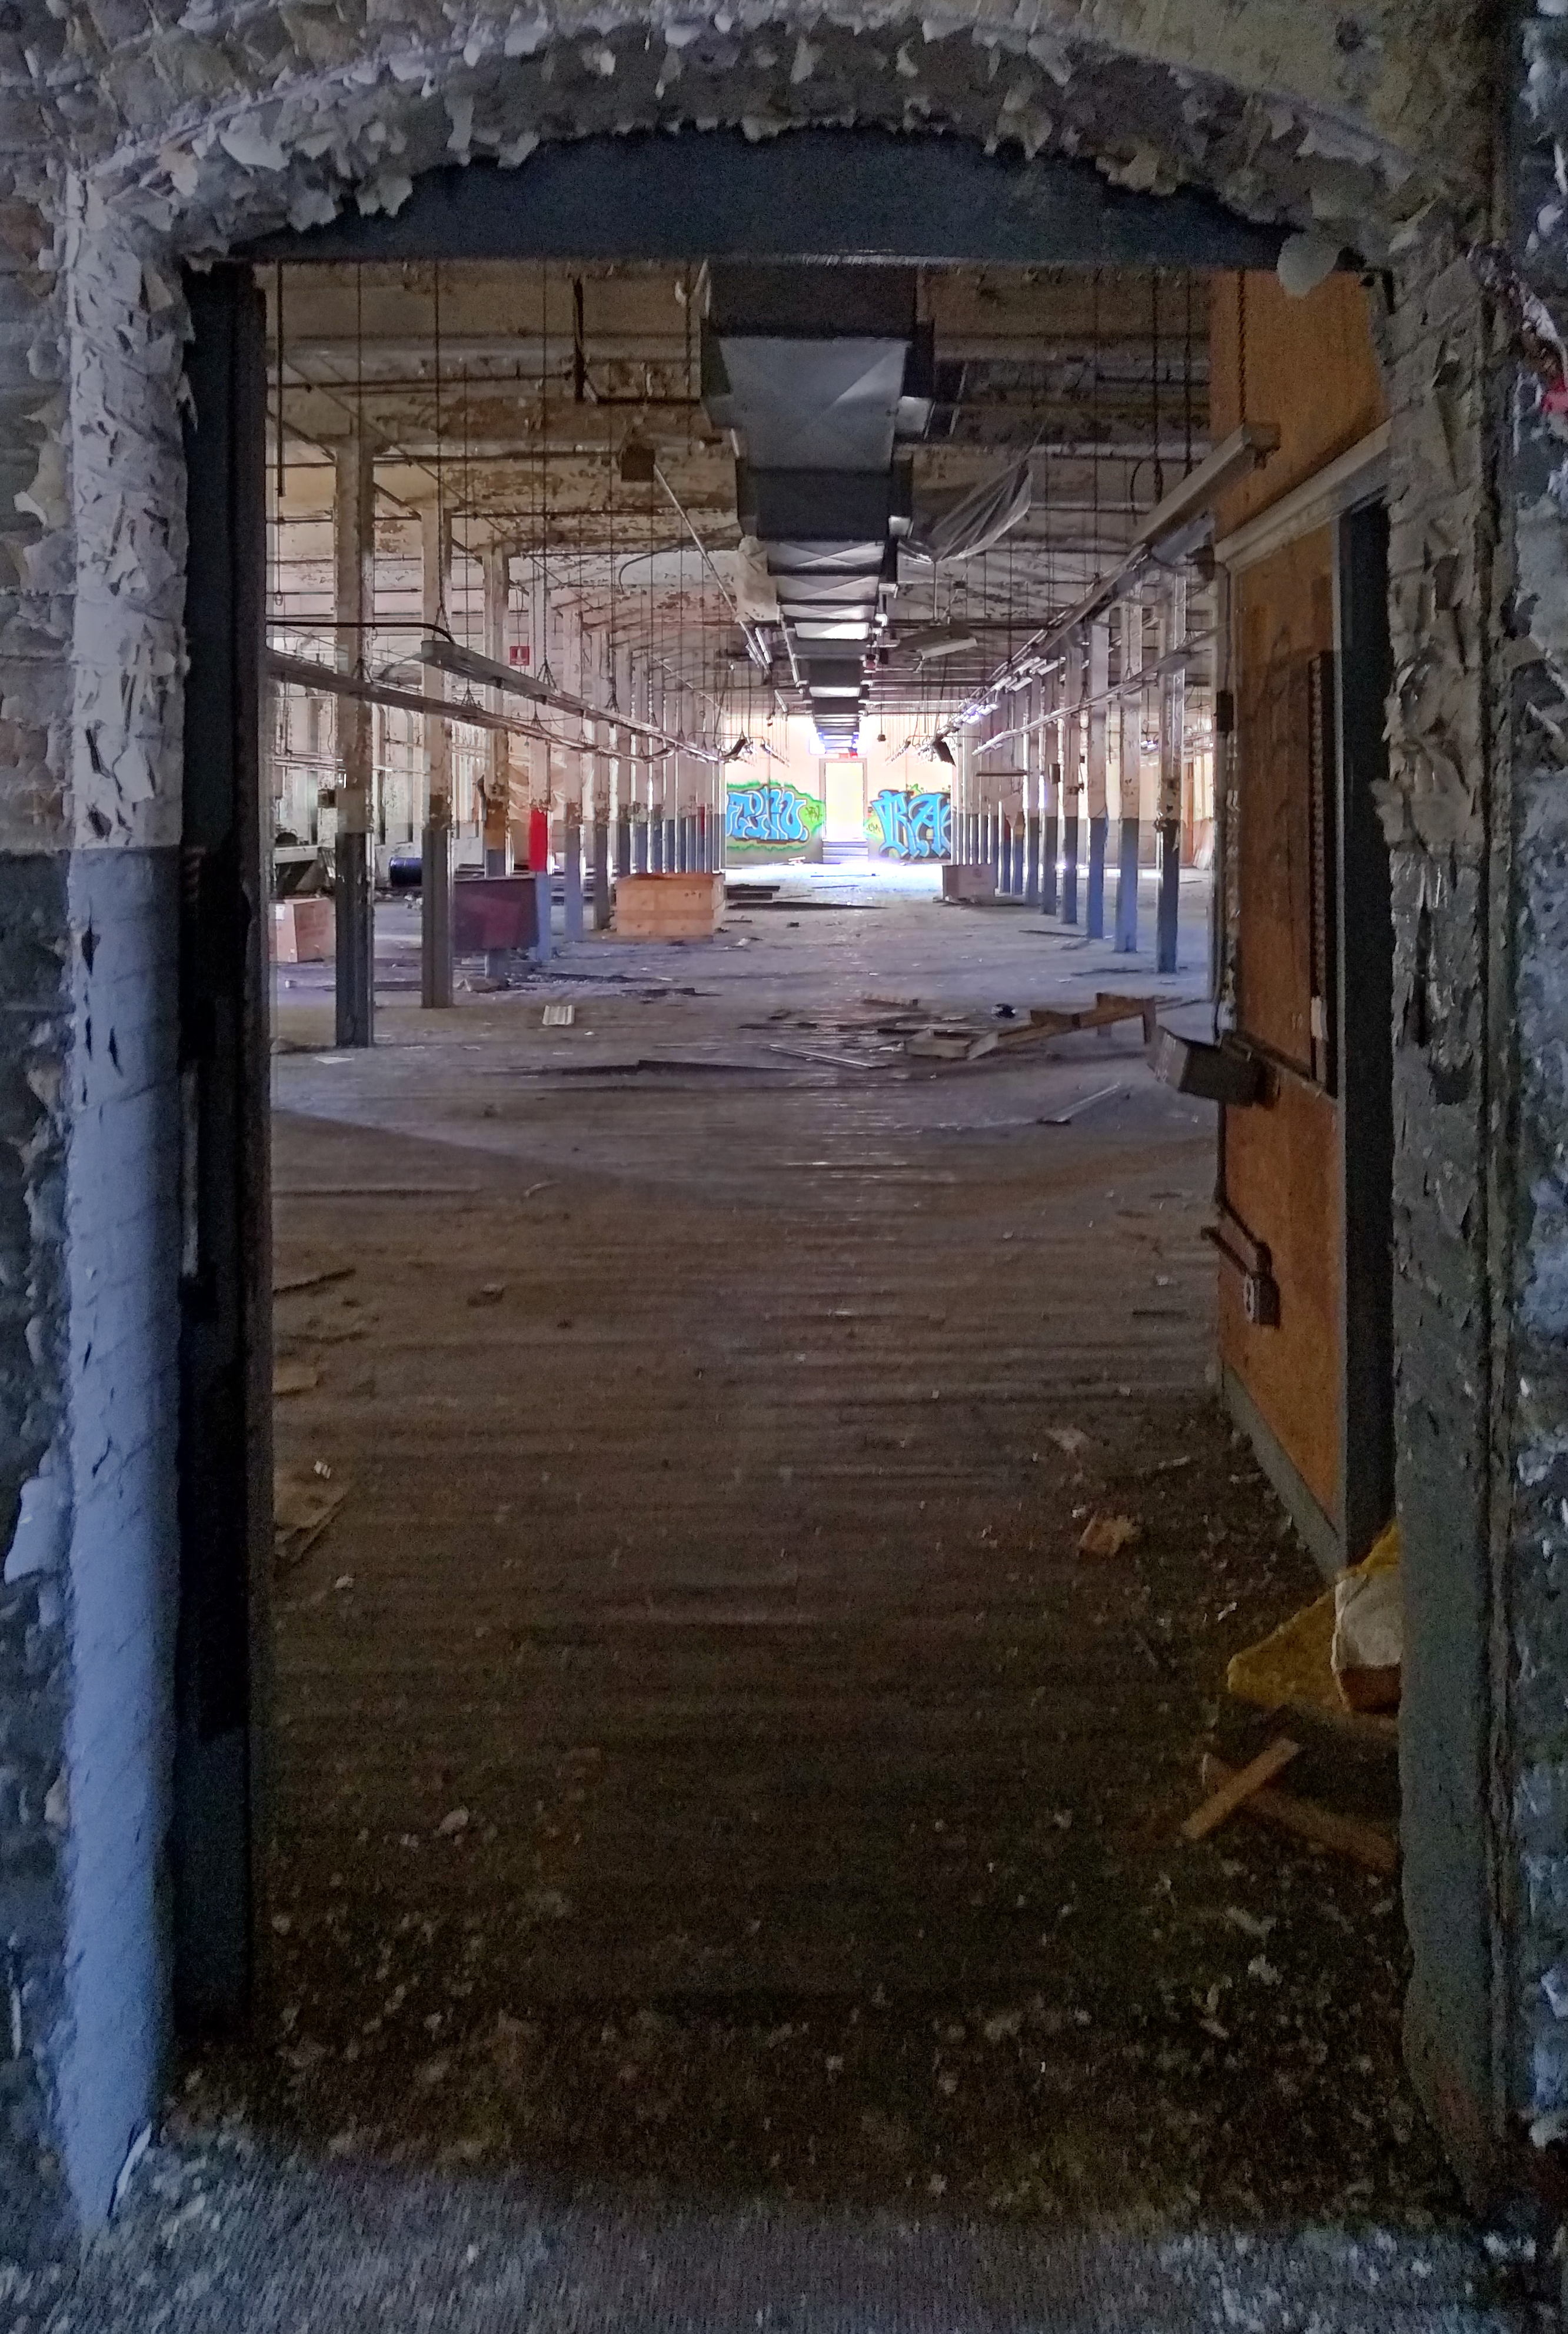
Here are the three images in question:
Strategy
- Align images
- Fix gamma encoding
- Determine relative exposure levels
- Combine images into a single "image" with extended range
- Separate luminance and chrominance
- "Squash" luminance range for low frequencies, while keeping details (high frequencies)
- Fix gamma encoding
Image Alignment
I spent quite a while trying to align these images using automated tools first, and then tried some more with writing code to do it myself. Unfortunately, the photographer moved the camera slightly between each shot, so no linear transformation of the images would result in perfect alignment throughout the entire image.
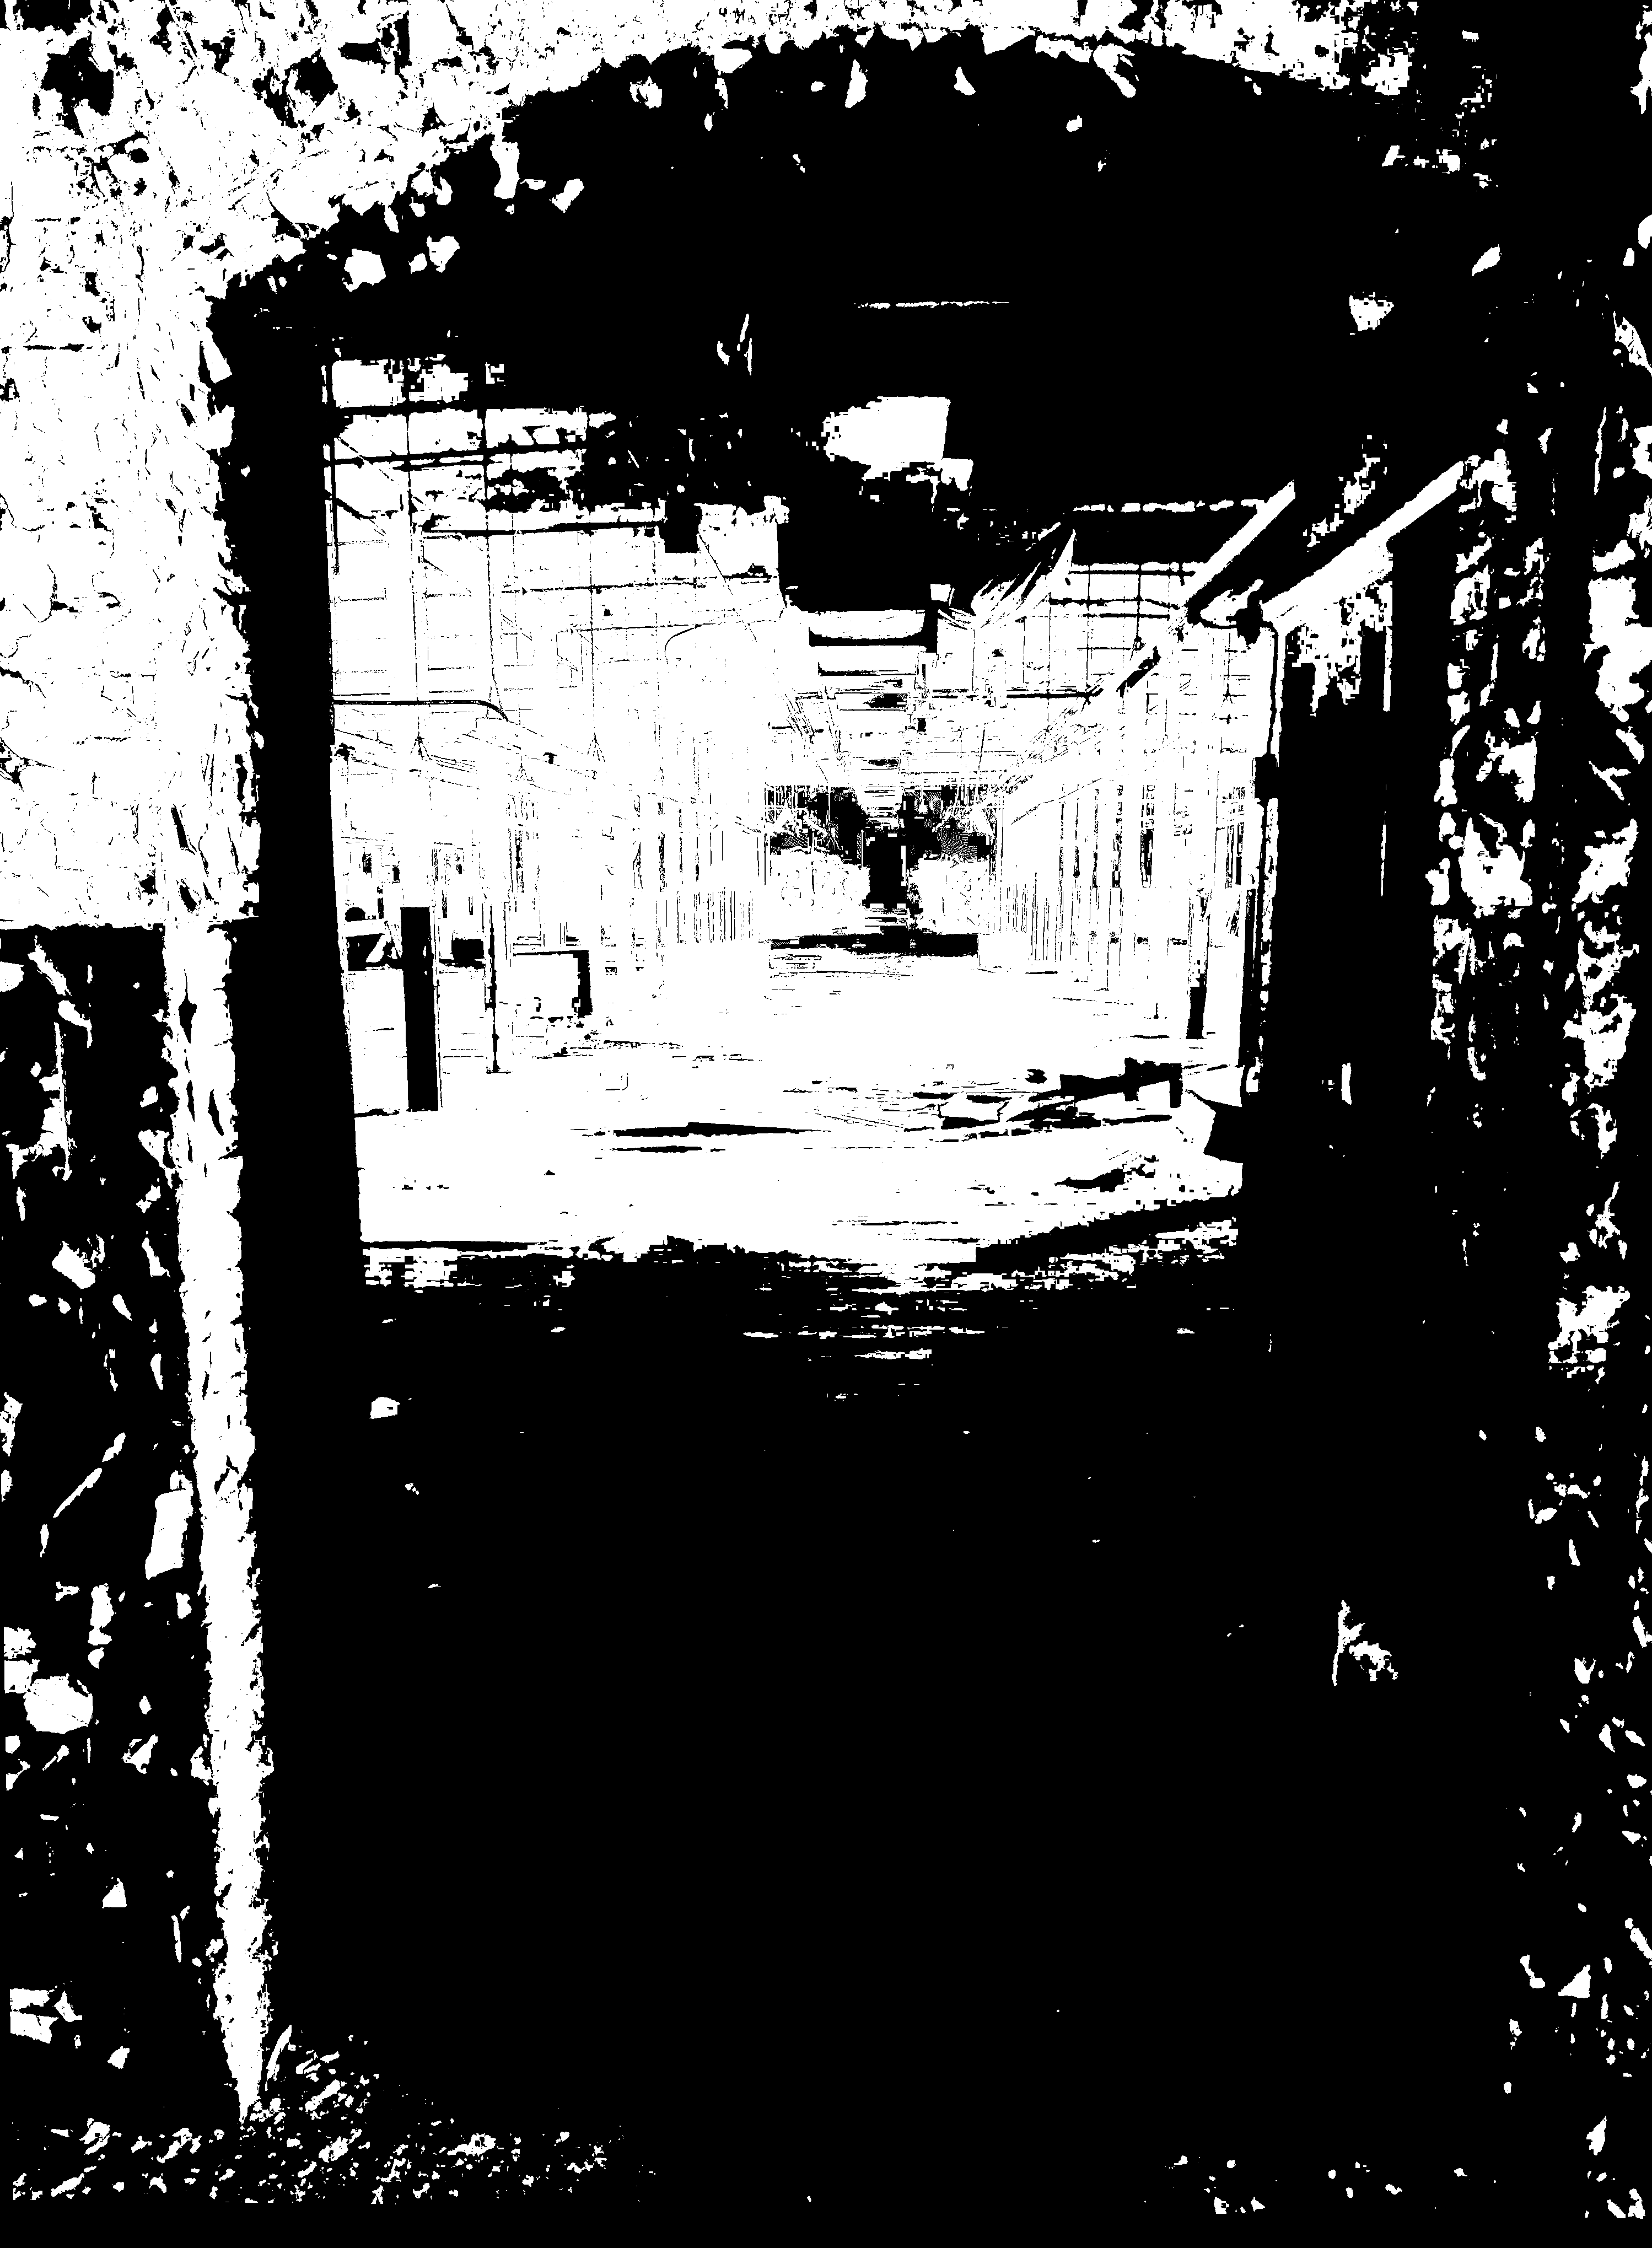
After many hours fiddling with optimizing feature detections and the like, I finally decided to scrap that approach and instead, for each pair of images that I wanted to align, pick four points that correspond to one another on each image and input them to a program I wrote for 6.815 to generate the appropriate homography. This resulted in the following:
I took care to align properly-exposed sections of each image with image before, so that I avoid "doubled" features.
Gamma encoding
Usually images are encoded with gamma=2.2. Wikipedia does a better job of explaining this than I could. Basically, we want to raise all of the pixel values by a power of 2.2 at this stage so that we are dealing with "actual" brightness values that we see rather than the values encoded in the image file.
Exposure Levels
For each image, I created a single-channel image indicating which pixels were "valid", meaning that at least one of their RGB values was between some threshold, which I arbitrarily chose to be something like [5, 253] (I will point out that in order to make dealing with pixel values easier, I opted to convert the integer values of pixels from [0, 255] to floating point values in the range [0, 1], which I will use for the rest of this post. So in actuality, my thresholds were something like [0.02, 0.99]). Lots of other HDR programs calculate valid pixels independently for each color, which may work better for well-taken shots where each pixel is likely to be correctly exposed in at least one but probably two or more images. However, for my images, the individual color approach resulted in unnatural sharp boundaries between blobs of colors and other weird artifacts in regions that were consistently under or over exposed.
At first, I also had issues of "doubled" objects because of the slight differences in alignment between the images. To fix this issue, I created masks for each image, so that only pixels within the mask were deemed "valid". This ensured that for all of the pictures, I could avoid including any regions that were misaligned, while retaining the important sections which I had aligned properly. Finally, I blurred the valid pixels image so that it no longer had sharp cutoffs between "valid" and "invalid" pixels, rather each pixel had a floating point validity score between 0 and 1. I used a gaussian blur for this, but I think a better option would be to run a bilateral-like filter using the original photos to determine closeness of pixel in the weighing function. I did not do this because my naive bilateral implementation was crazy slow, but I'm sure a faster implementation would be acceptable and slightly improve the result.

To calculate the exposure level for each image, I assign the arbitrary value of 1 as the exposure of the brightest image, Then for each following image (proceeding toward darker images), I look at all of the pixels which are valid in both that image and the previous one, and calculate the ratio between their values for each of the colors. Then, I take the median value of all of these ratios as the ratio of the exposure level of the image to the previous image. In my case, I found that the second image had an exposure level of something like 0.25, and the third image had an exposure level of something like 0.25*0.2=0.05.
Combine Images
For each pixel location, check which images it is valid in. If it is not valid in any of them, then either keep it black if it's black in all of the images, or white if it's white in all of the images, or (luckily didn't run into this case in my image) maybe just average neighboring values or something. If it is valid in at least one source image, then we take the weighted average of each valid image's pixel value divided by its exposure level, weighted by the validity value for that pixel in that image. Since we are dividing by the exposure level, we end up with pixels outside of the normal [0, 1] range.
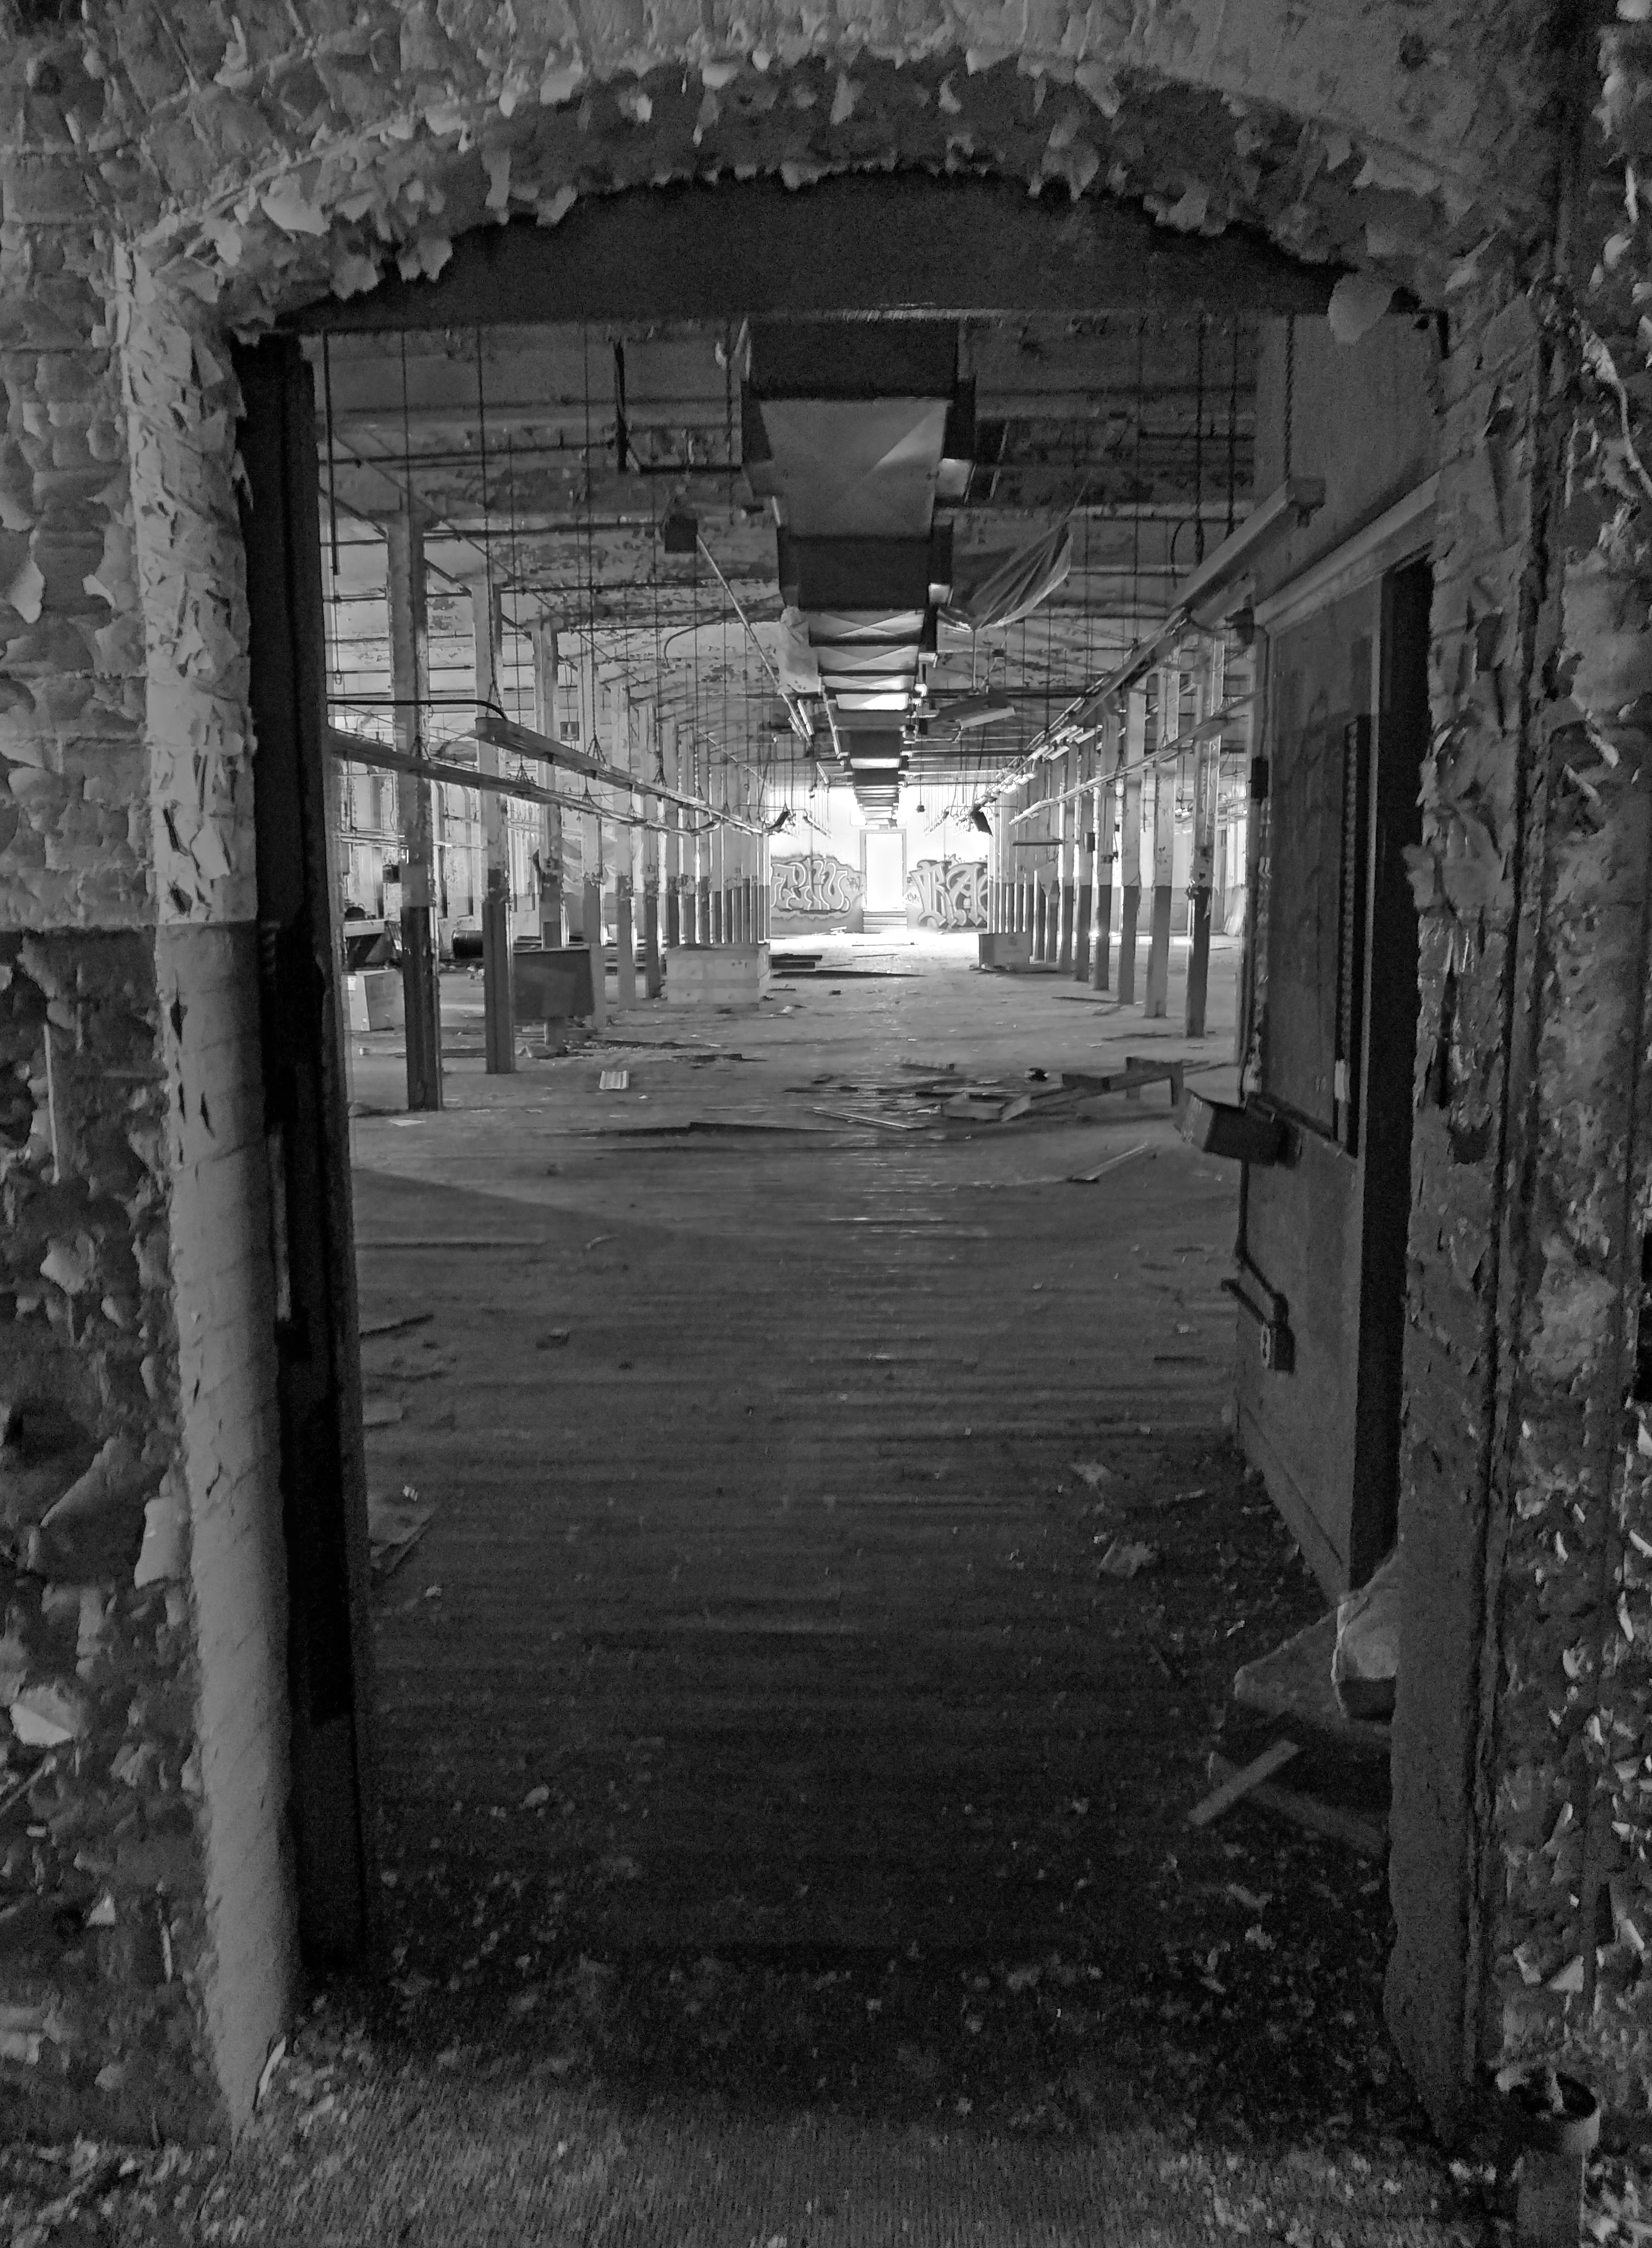
I will not include the output of this step because pixel values above 1 will just look entirely white. It will basically look like the first source image.
Separate Luminance and Chrominance
I won't go into how this works, but you can look it up yourself. It's really not very complicated. You end up with a single channel luminance (brightness) image and a 3 channel (which I guess you could compress to a 2 channel encoding if you really cared) chrominance (color) image.
"Squash" Luminance
Here's where things get a bit finicky. First, since human perception of light is logarithmic, we can't just divide all of the luminance values by some constant to get them within normal image pixel range. If we did that, we would end up with a nearly entirely black image with a few white areas. Instead, we take the logarithm of all of our pixel values and operate on this. Note that we start with pixel values in the range [0,1+], which means we need to add a tiny value like 0.001 to every pixel so we don't take the logarithm of zero, which means after taking the log, we get values starting at some small negative number like -5, and up to the logarithm of our highest value pixel, which will be greater than 1. After all of our messing around, we will want to exponentiate our values again and end up between 0 and 1, which means we somehow want all our logarithm values to be less than or equal to 0.
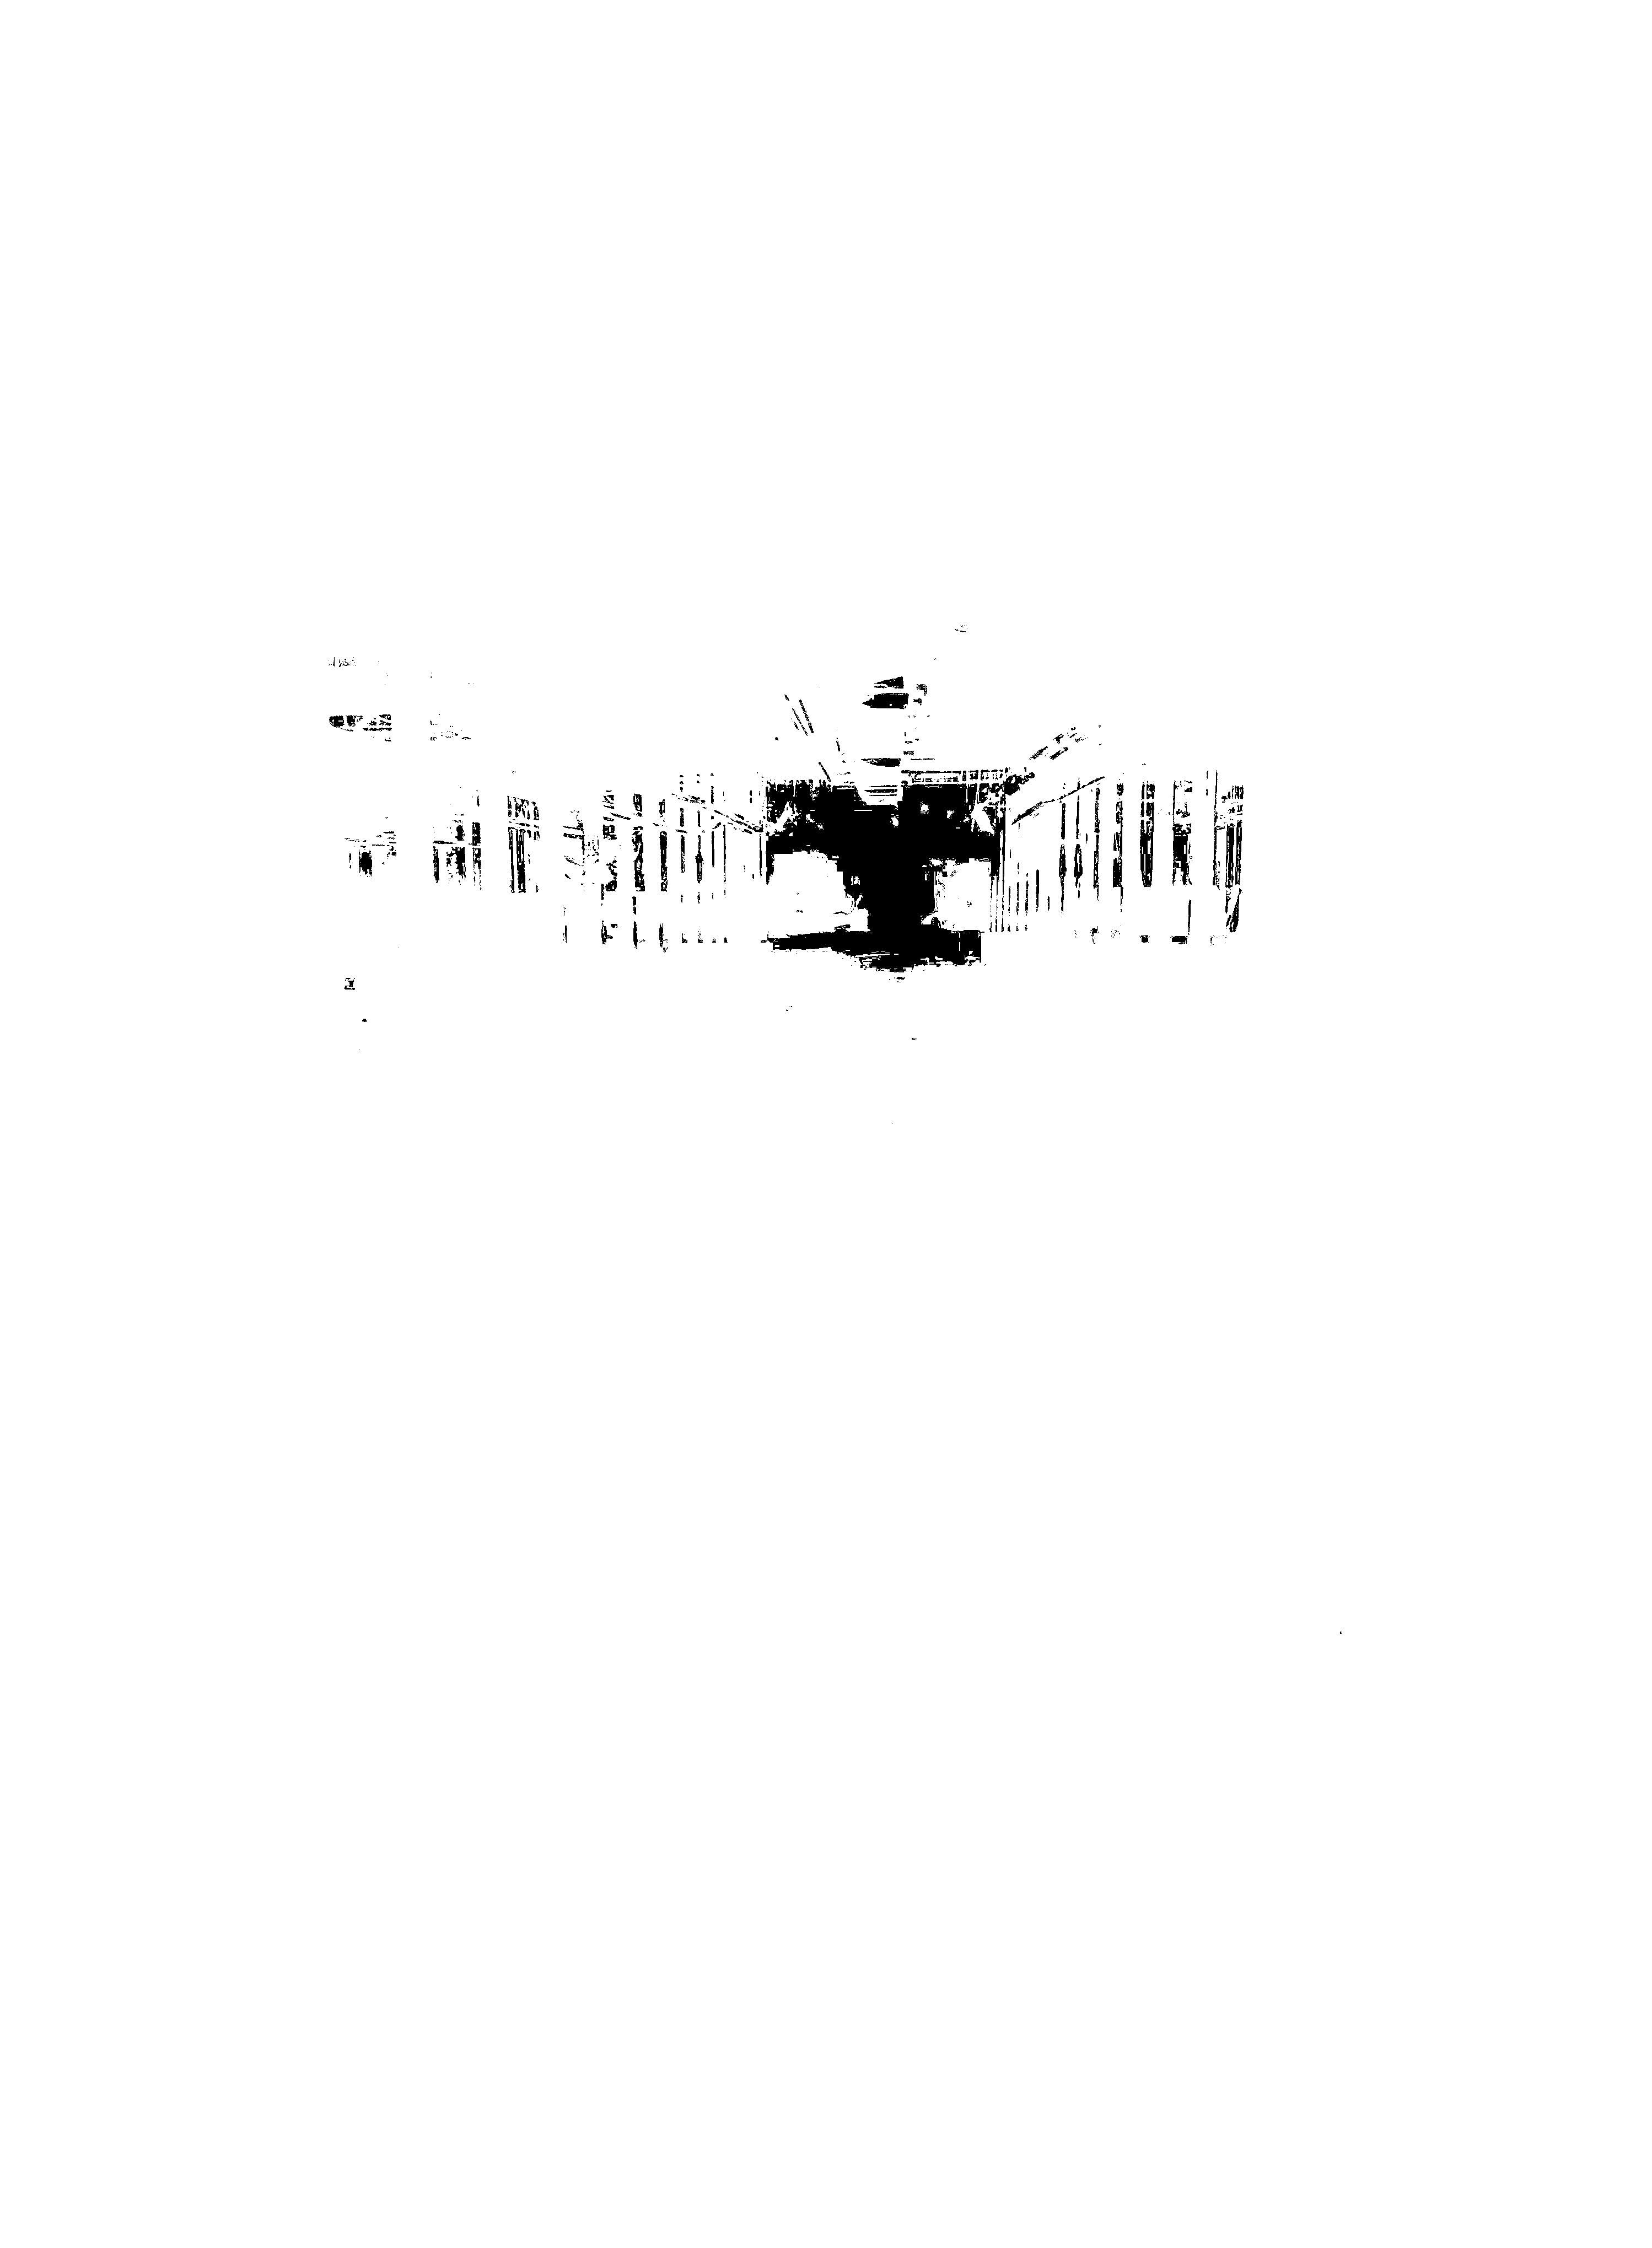
Now, we want to reduce the range of our values, so we might naively divide our values by whatever "squashing" constant we want. This kind of works, but causes all of our details in the image to become much less sharp. One trick that normal HDR programs do is to separate low frequencies (which you can get by blurring the luminance) from high frequencies (subtract the blurred luminance from total luminance), and only squash the low frequencies. This works fine for landscape HDRs and the like, but take a look at the tone curve of the logarithm of the luminance:
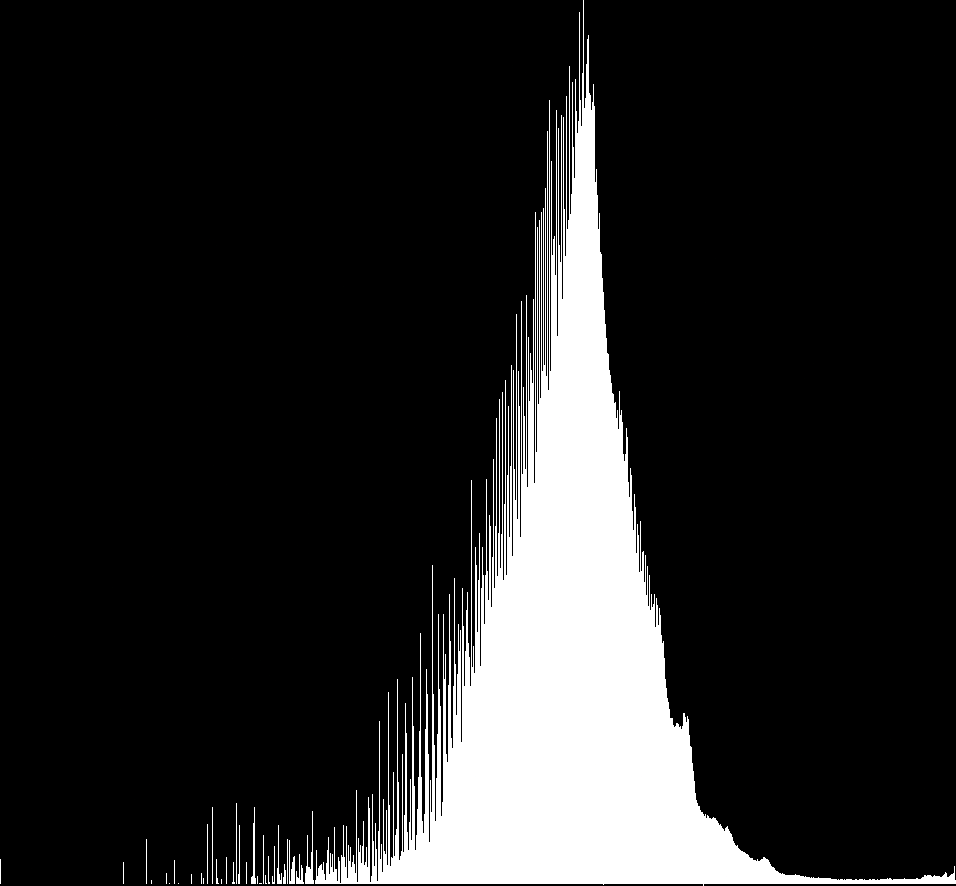
It's a bit hard to see, but the two little tick marks at the bottom are at the values -1 and 0. This means the vast majority of pixels are at an acceptable value below 0. All we need to do is move all of the pixels above 0 to slightly under 0. I just fiddled with mathematical functions until finding something I liked:
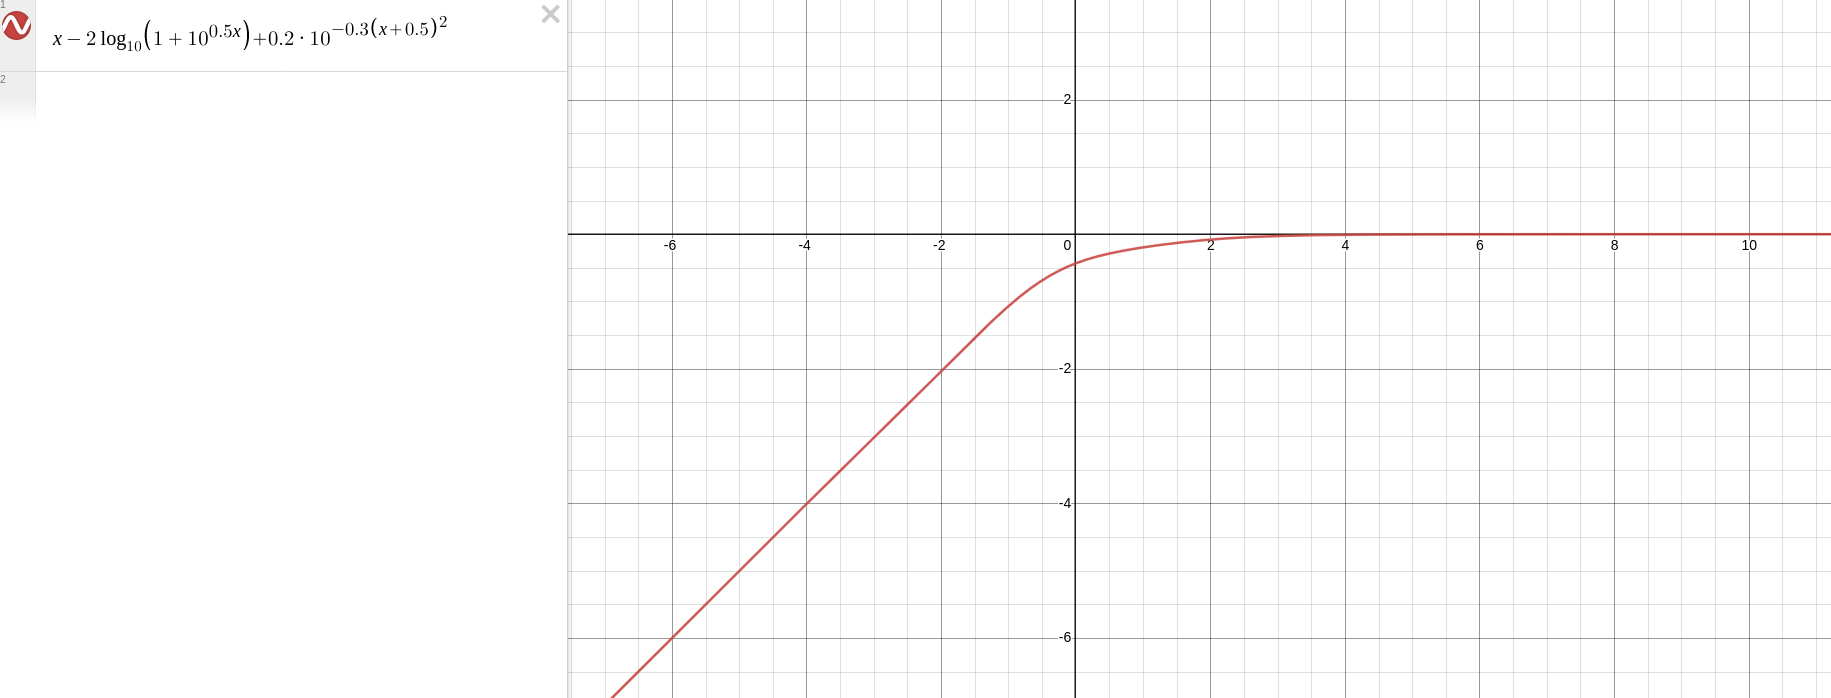
We apply this function to all the luminance values, and then we add the high frequency of the luminance times some small constant to make sure we don't lose details. Technically this means some pixel values might once again be greater than 0, but if that's the case we just make them fully white. There weren't enough of those to be an issue.
Finally, we recombine with chrominance.
Regamma
This time, we raise everything by a power of 1/2.2.
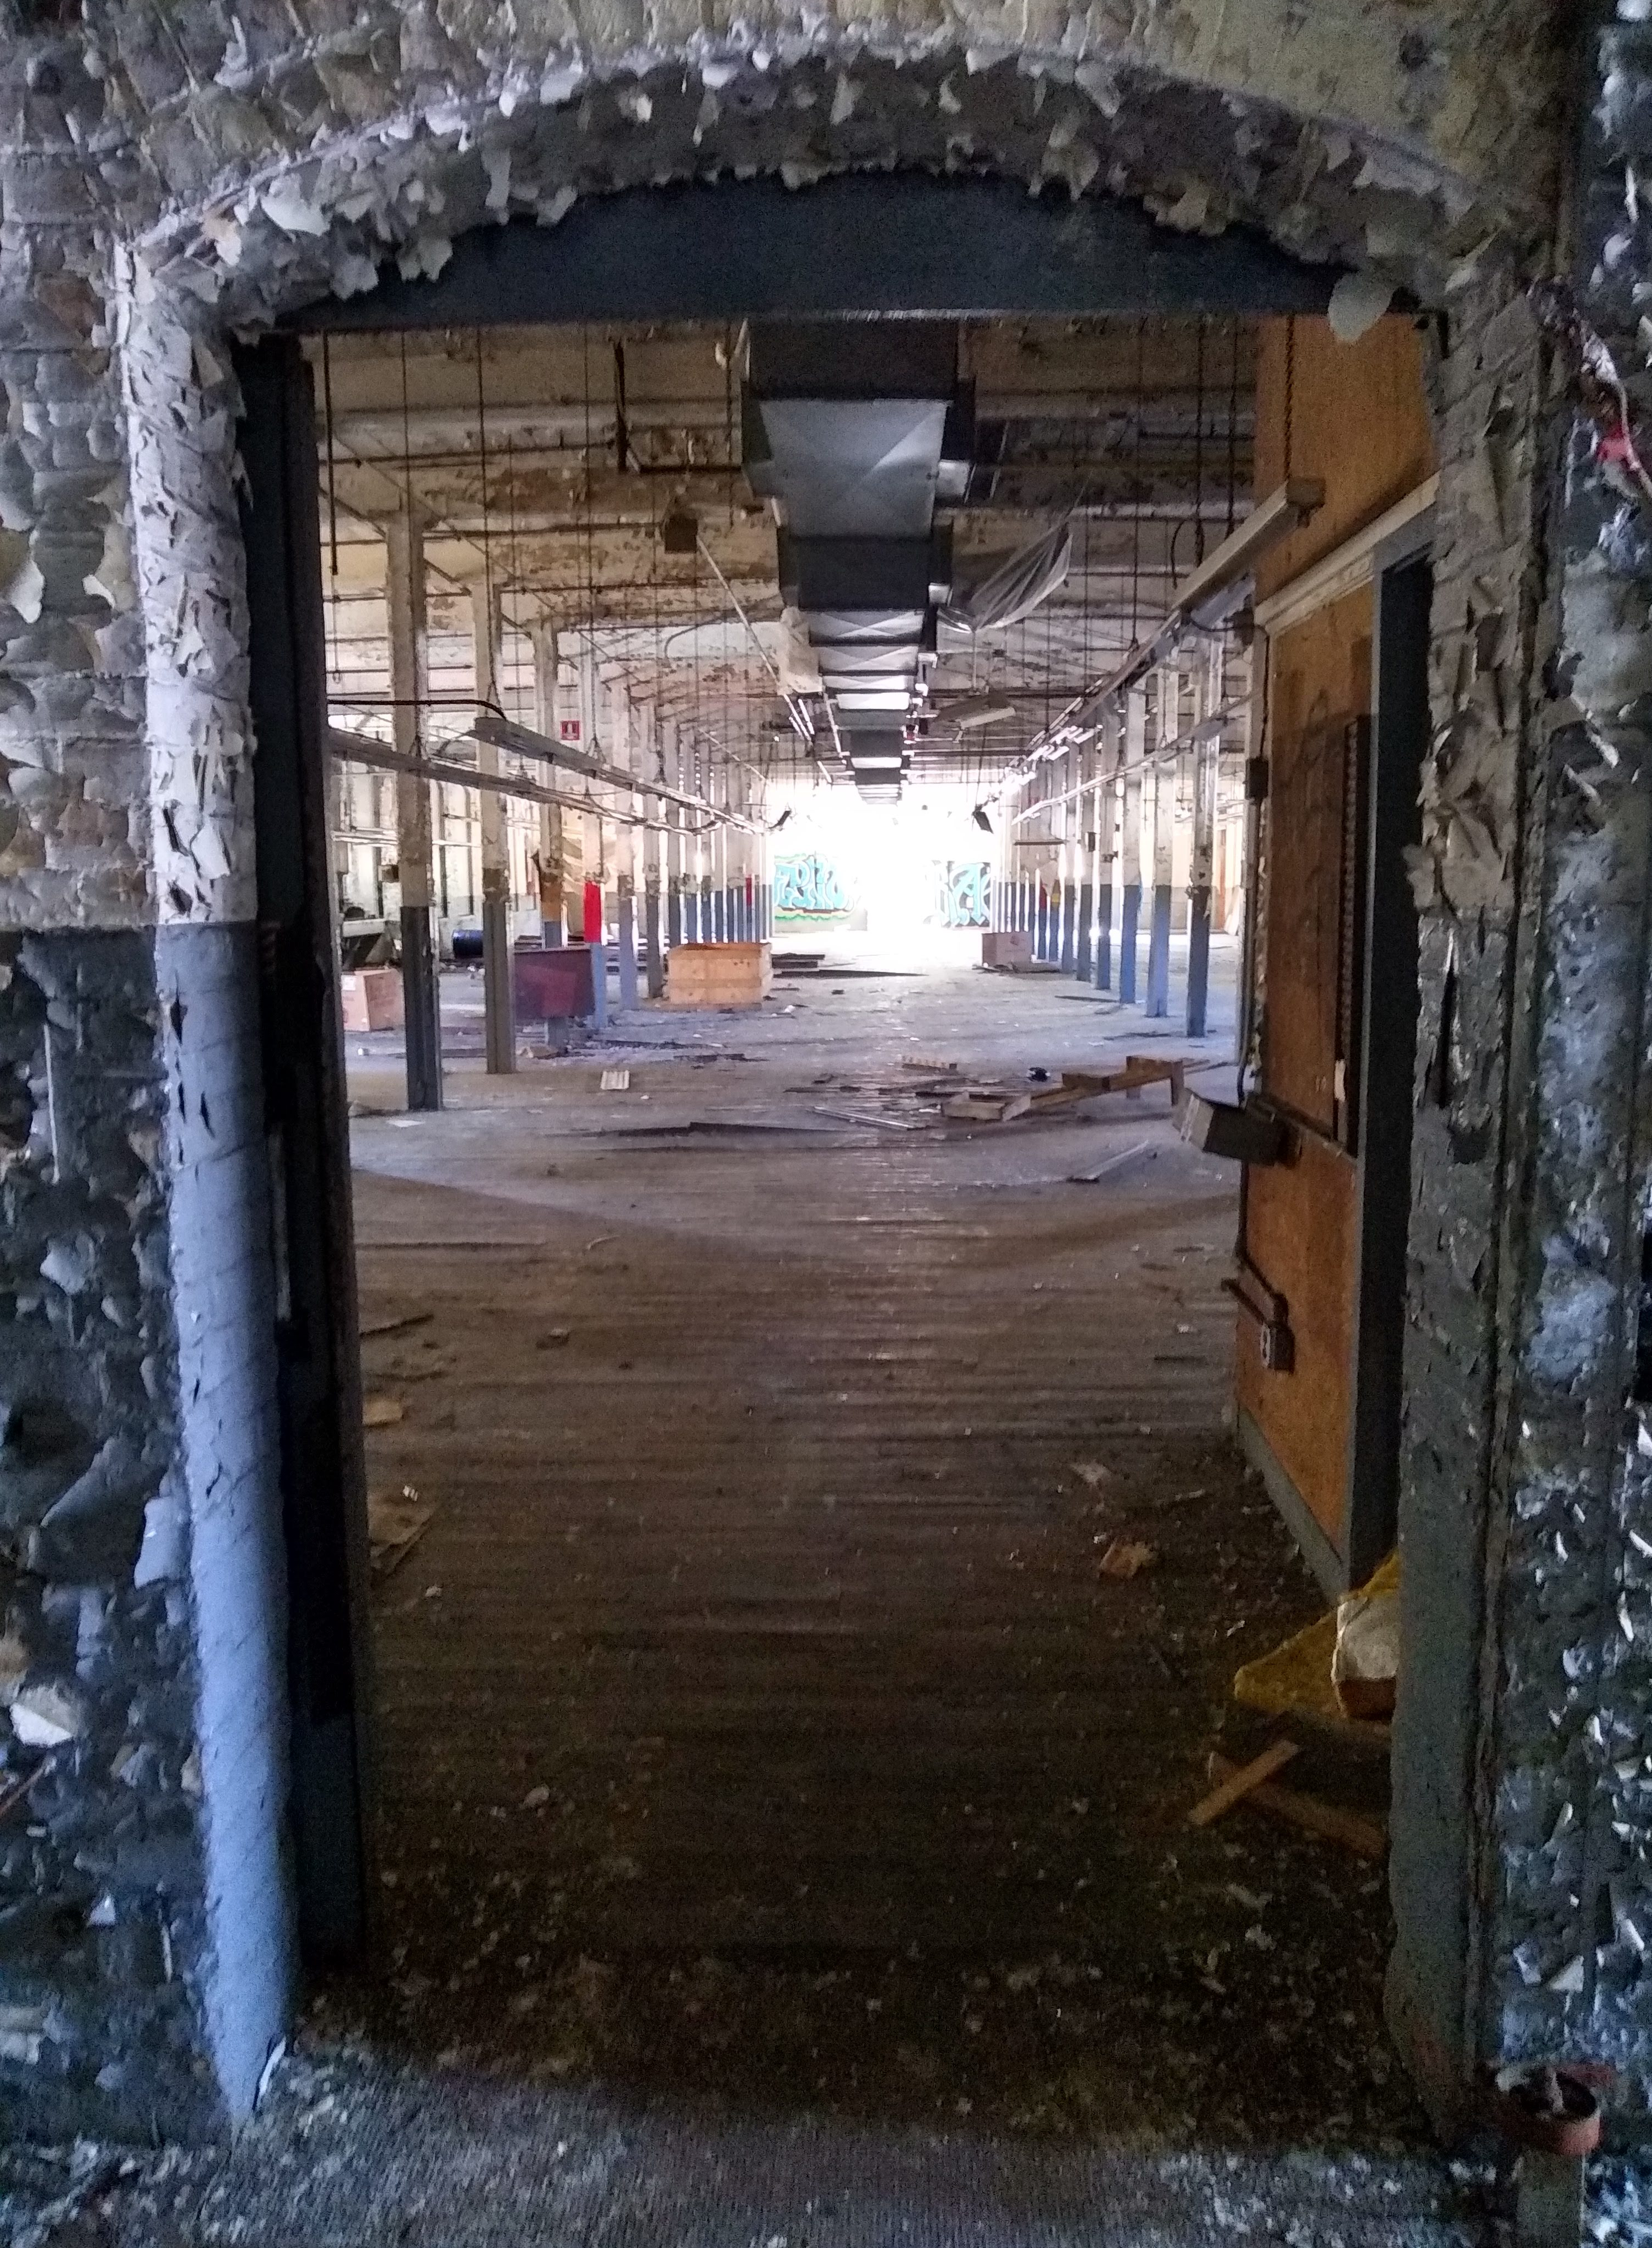
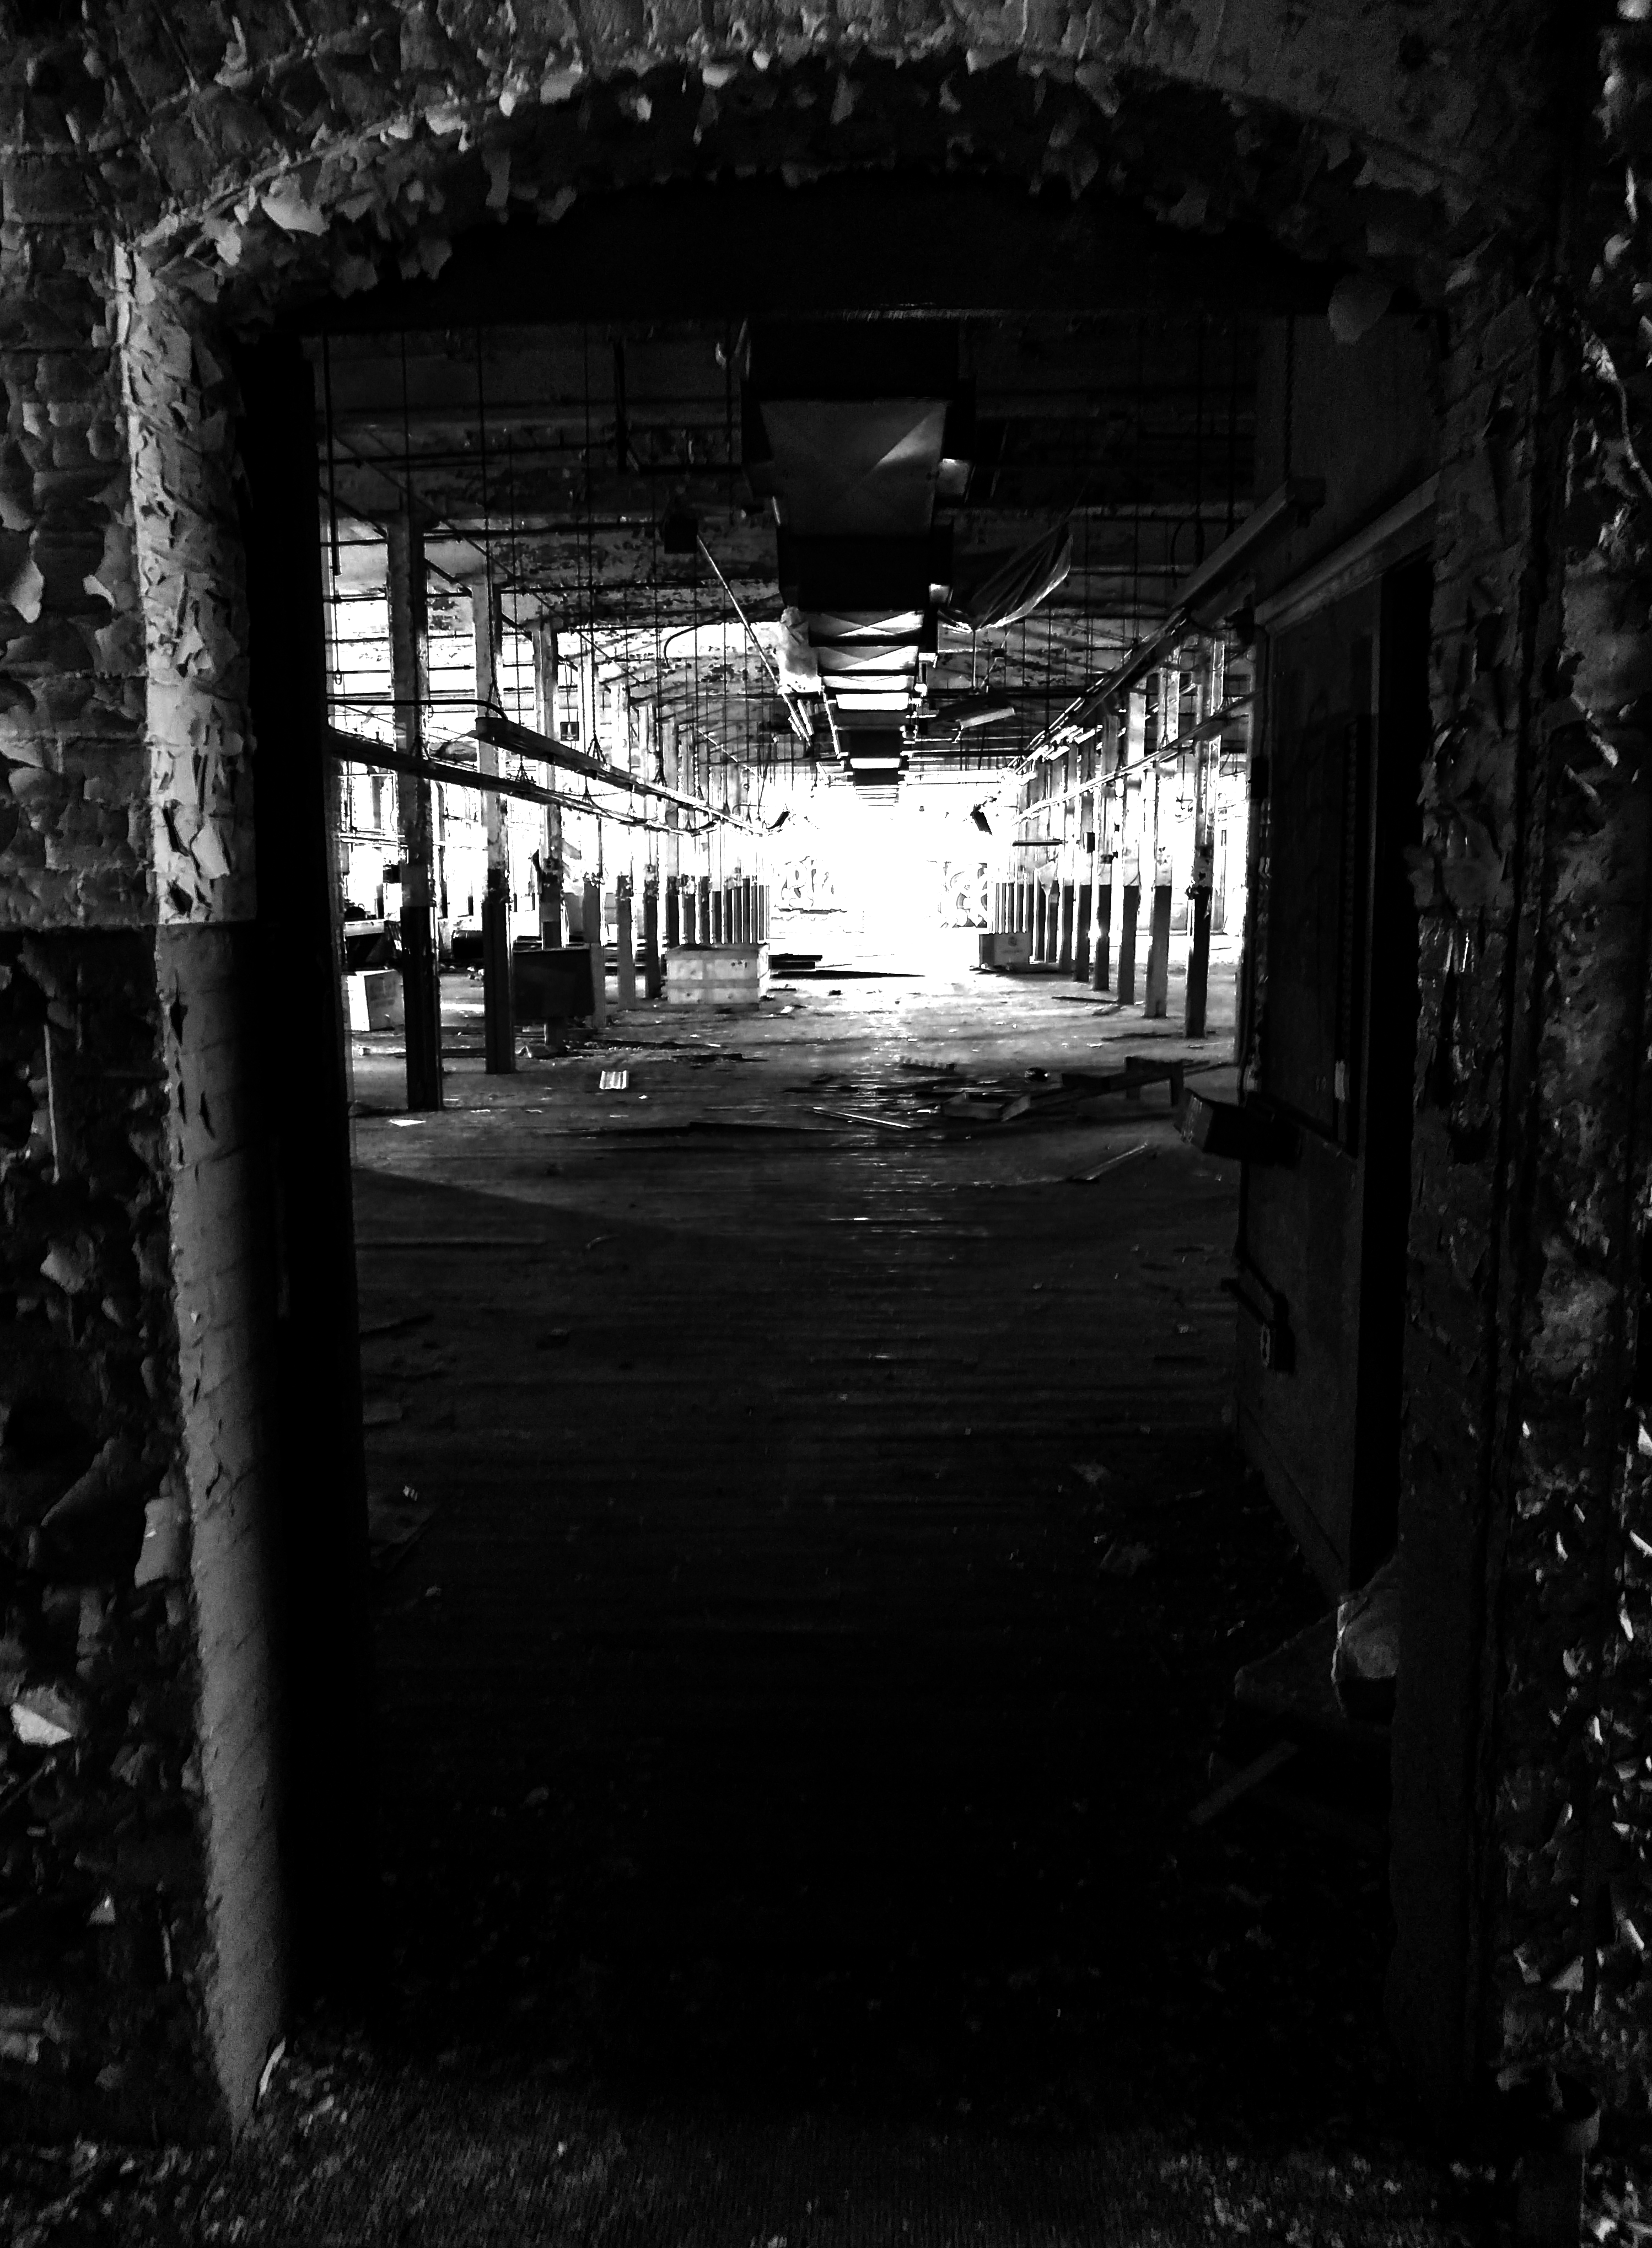
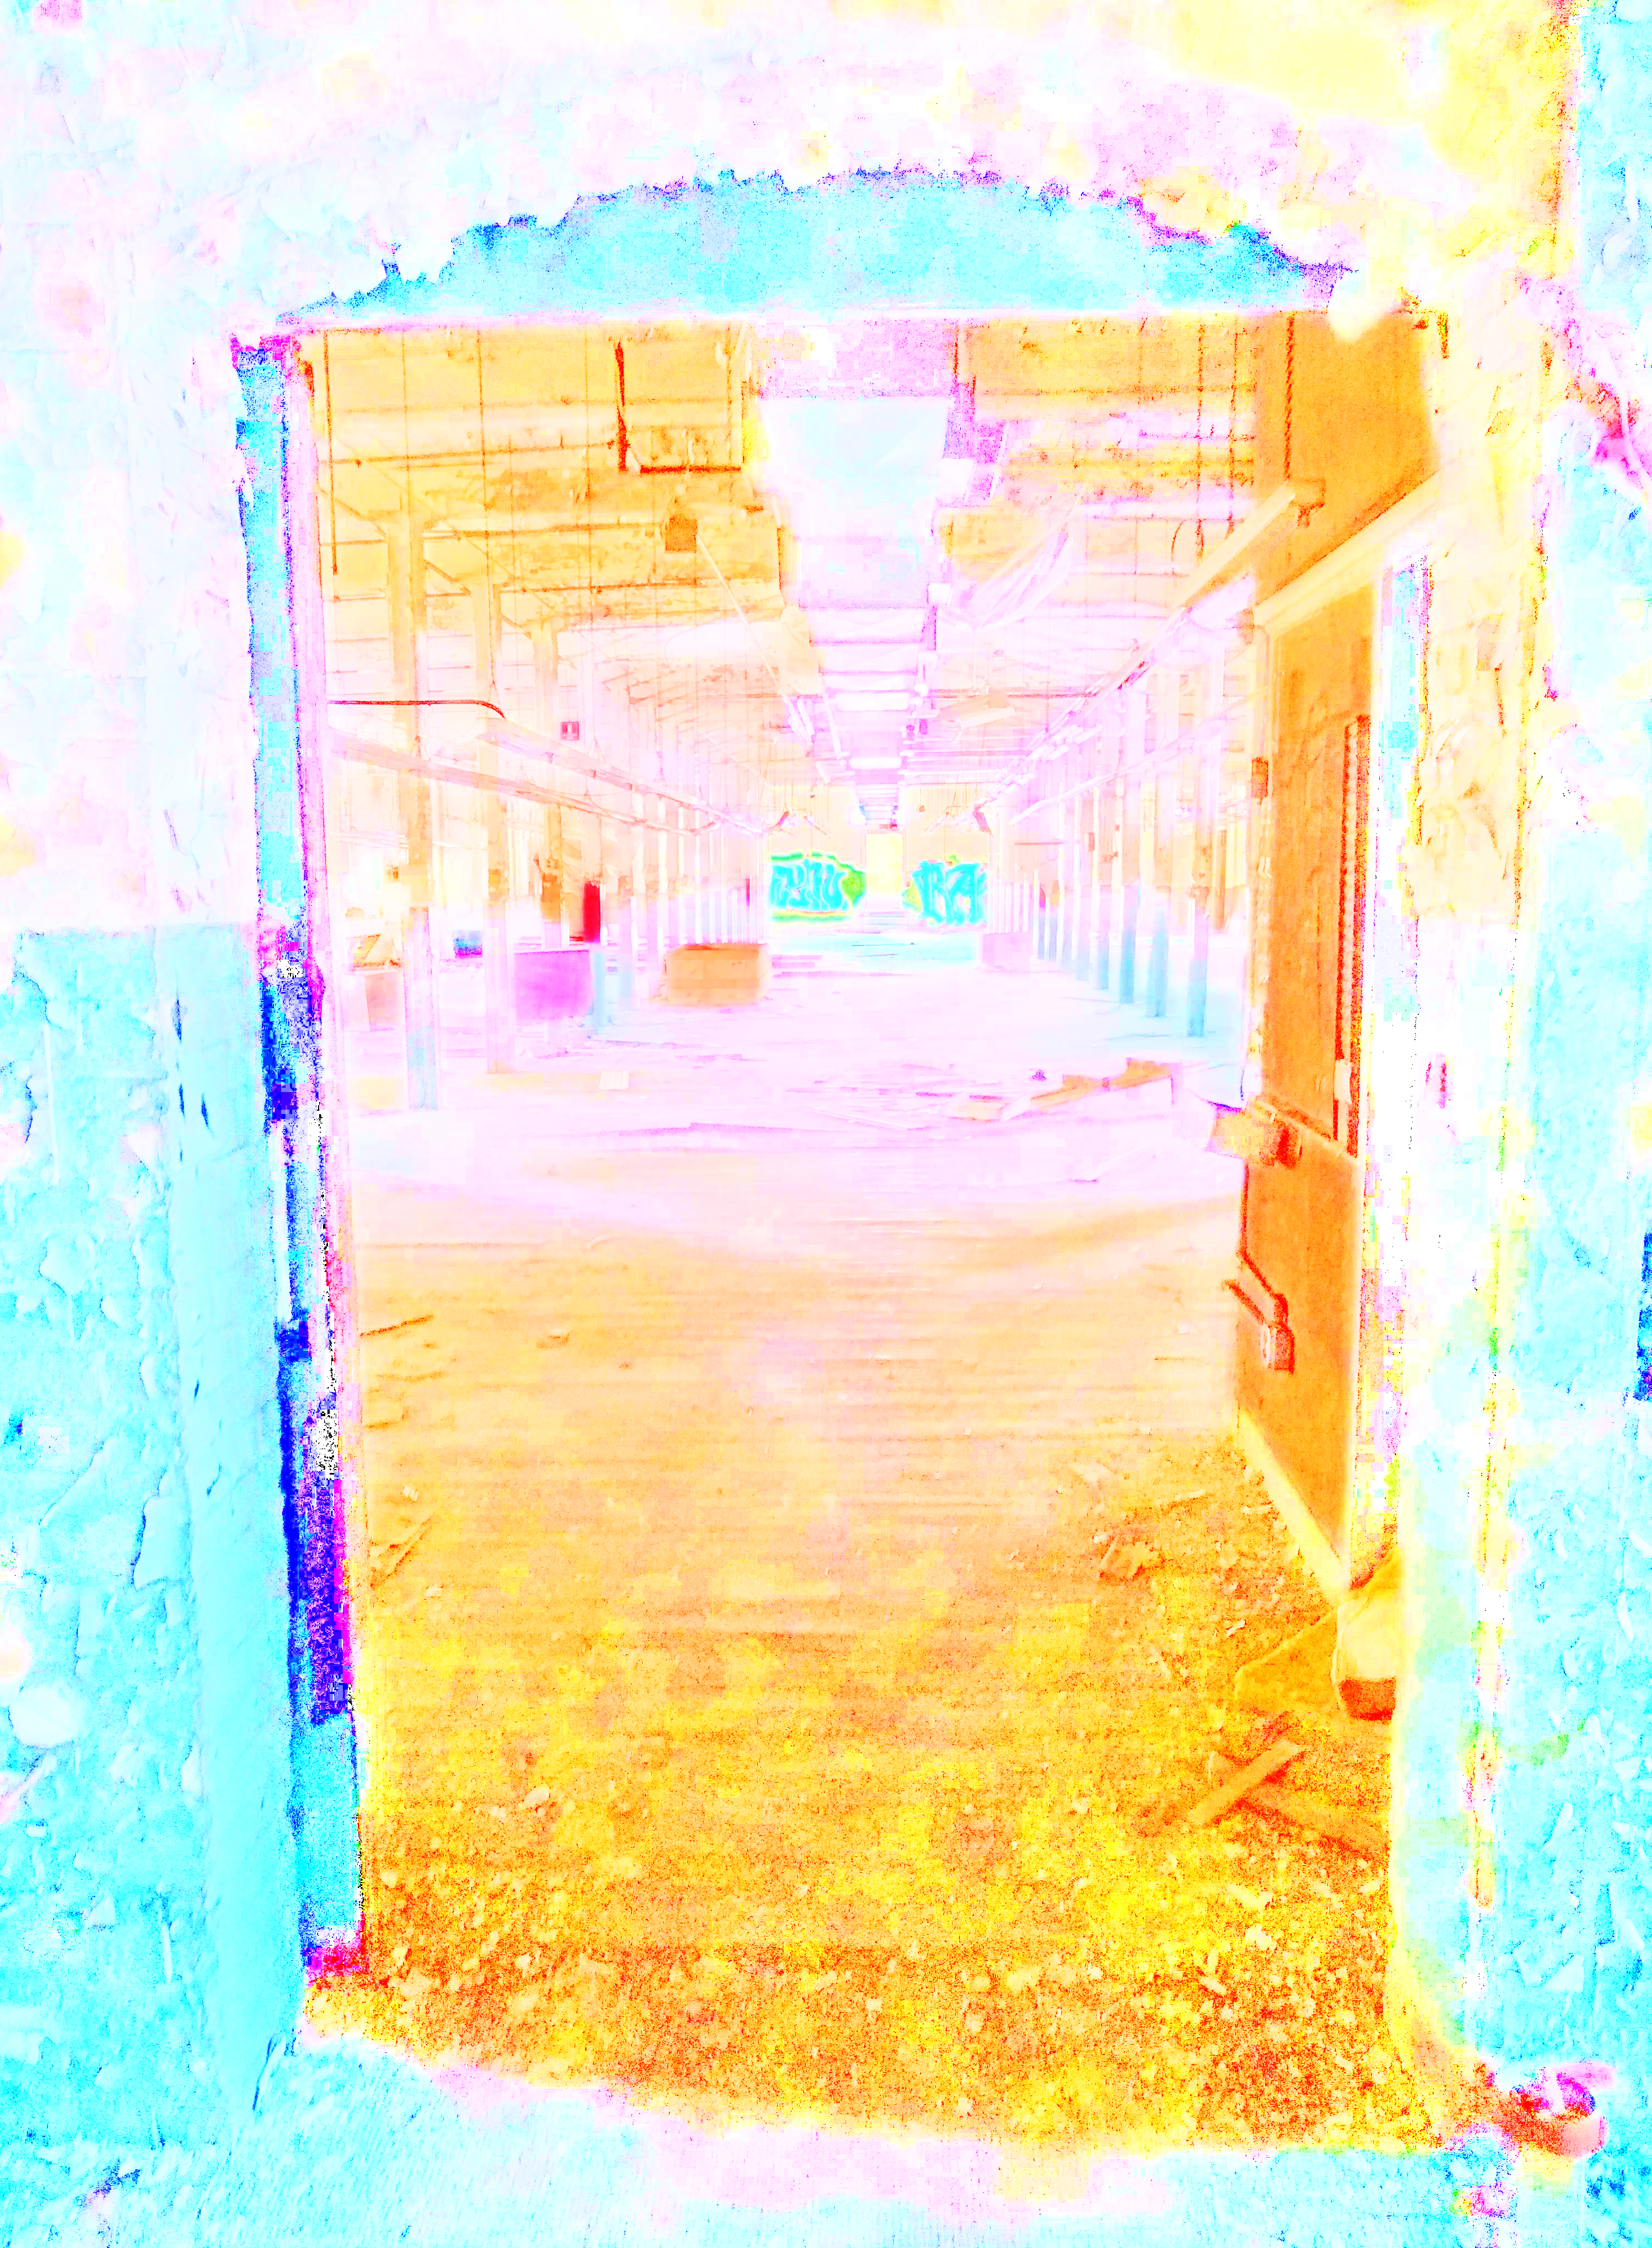
And a final homography to align the doorway with the frame:
Other Remarks
- Some people online say you need an odd number of photos to do HDR, and that the "middle" photo (in terms of exposure) needs to be the one that captures the bulk of the scene, the midtones, etc. Just from thinking about the process we did to perform HDR, this is clearly false. This approach would work just as well with any number (greater than 1) of photos, and the important thing is that you have at least one shot with the correct exposure for each part of the image that you want to be visible in the final HDR composite. If you want to leave the shadows shadowy, there's no need to take a high exposure shot, for example. The one thing you do need to be careful about is that there needs to be enough overlap between different exposure levels that you are able to get smooth transitions between dark and light areas, and in the case where you are not shooting in RAW, that you can calculate the exposure ratios between images in the first place.
- Image alignment was a pain because I had to write down all of the pixel coordinates that I wanted in each image. It would be nice to have a feature where I can zoom in to each shot and pick some points and it does all the writing down of pixel values and then the homography for me. I wish Luminance HDR had something like this, instead of their auto alignment tool that only half works (though I can't complain, it is free and open source, and I tried writing a better algorithm without success.).
- Most of my problems came from the fact that the pictures weren't properly aligned. If you want to make HDR photos but only have a low quality phone camera, I cannot recommend enough to at least prop it on something. When my friend was taking the photos, they already knew how difficult it would be to realign them, and yet they had the hubris to think they could hold my phone steady enough.